

Woman Uses Fieldstone And Mortar To Create A Rustic-Looking Raised Bed Garden
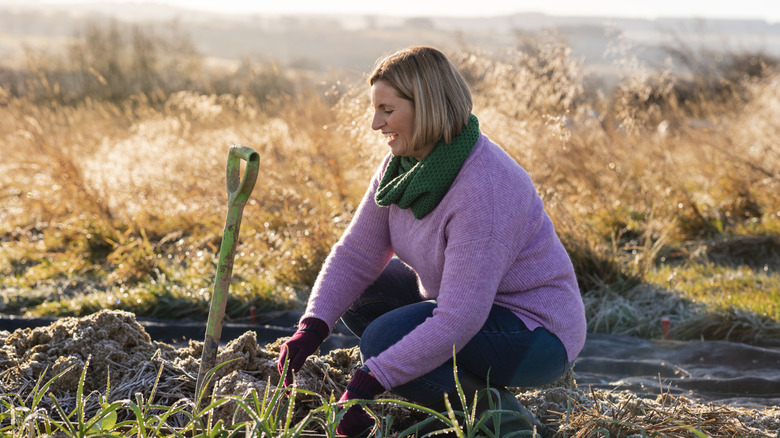
A yard full of massive rocks can be the bane of your existence if you're trying to have a productive in-ground garden. Often, the best course of action for these types of spaces is to opt for raised beds so you don't have to worry about rocks constantly getting in your way. But what if you could actually put those pesky stones to work? That's what TikToker Britt|The Gilded Glasshouse did. Instead of despairing due to her rocky yard, she dug up and arranged medium-sized chunks of fieldstone into rectangles and mortared them together to create gorgeous and rustic raised garden beds full of rock-free soil. And since she used the stones that were already in the yard, her costs were relatively low as well.
If you want to try this charming project for yourself, you'll need to begin by gathering supplies. A wheelbarrow will make it significantly easier to move the heavy rocks and mix up large batches of mortar. Britt notes that she used about four 80-pound bags of Type S mortar for each raised bed. Of course, you'll also need to gather your stones. Try to find rocks that are around a foot tall and wide and have relatively flat sides. If you want to make a stone raised bed, but don't have a yard full of rocks to use, check the local landscaping yards to find out what types of landscaping stones are the most cost-effective in your area. And to avoid hurting your hands while working with the rocks and mortar, you'll need a good quality pair of gloves and a shovel.
How to create your charming raised bed garden
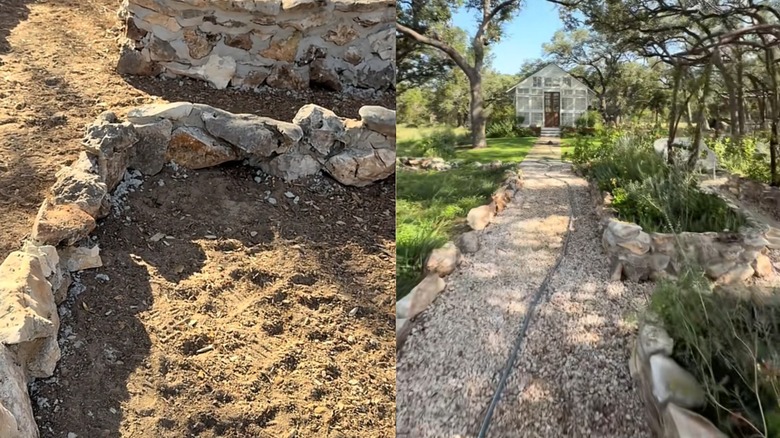
Before laying out your stones, consider the dimensions you want your garden to have. You can mark out exactly where the bed's edges should be using something like string or spray paint. Then begin to position your larger rocks. Try to make sure they are as close to each other as possible and have relatively few gaps. Then add a second layer of rocks on top of those. While it's up to you how high to make your raised bed, a height of around 1 foot is generally sufficient. Though if you dislike having to bend over to garden, a taller bed may be preferable.
Once you're happy with how your rocks are arranged, you're ready to mix up the mortar. Just make sure to do this step when you aren't expecting rain for at least a day. You'll likely want to use about three parts type S mortar to one part water, but be sure to consult the instructions on your bag of mortar for the exact ratio and other instructions. Combine the ingredients thoroughly in your wheelbarrow. Britt|The Gilded Glasshouse recommends aiming for a peanut-butter-like texture. Once your mortar is ready, lift and mortar under a rock on the top layer of the bed. Then place that rock back and repeat the process with the next stone, moving around the garden bed until the entire top layer of stones is secured onto the bottom layer.
How to create a base for the walls (if necessary) and fill your raised garden bed
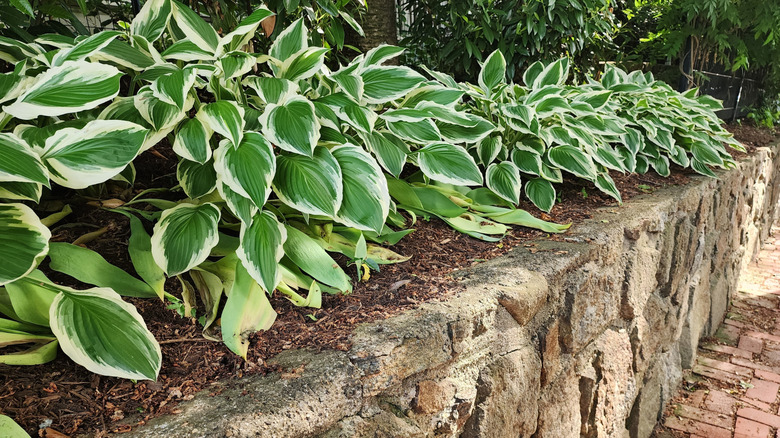
As Britt|The Gilded Glasshouse notes in her video, it's important to consider your frost line and how cold your winters get before embarking on this DIY, as repeated freezing and thawing can easily cause the mortar to crack and break. So unless you're okay with cracks quickly forming in your stone garden bed, your best option in cold regions is to first dig down to below your frost line and create a foundation of driveway gravel or a similar material for your bed to rest on top of. If you're not sure how deep your frost line is, the National Weather Service's Frost Depth Map is a helpful resource.
Once your gorgeous garden bed is complete, you're ready to fill it with soil. Just be prepared, as filling raised beds is often the most expensive part of creating them. One popular cost-saving option is to fill the bottom part of the bed with branches, leaves, or other organic yard waste and only fill the top half with growing media. While there are a variety of excellent recipes for creating a good soil mix for raised beds, one simple option is to use equal parts compost and topsoil. Then just add around 2 inches of mulch on top of the soil, and your garden is ready to be planted up! If you want, you can take even further inspiration from Britt|The Gilded Glasshouse and add budget-friendly garden trellises and gravel-lined pathways between your beds for additional beauty and practicality.