How To Care For A Mini Chrysanthemum Plant
Things Needed
- Garden spade
- Compost
- Shovel
- Shredded mulch (wood chips or bark)
- Water-soluble fertilizer (10-10-10)
- Pruning shears
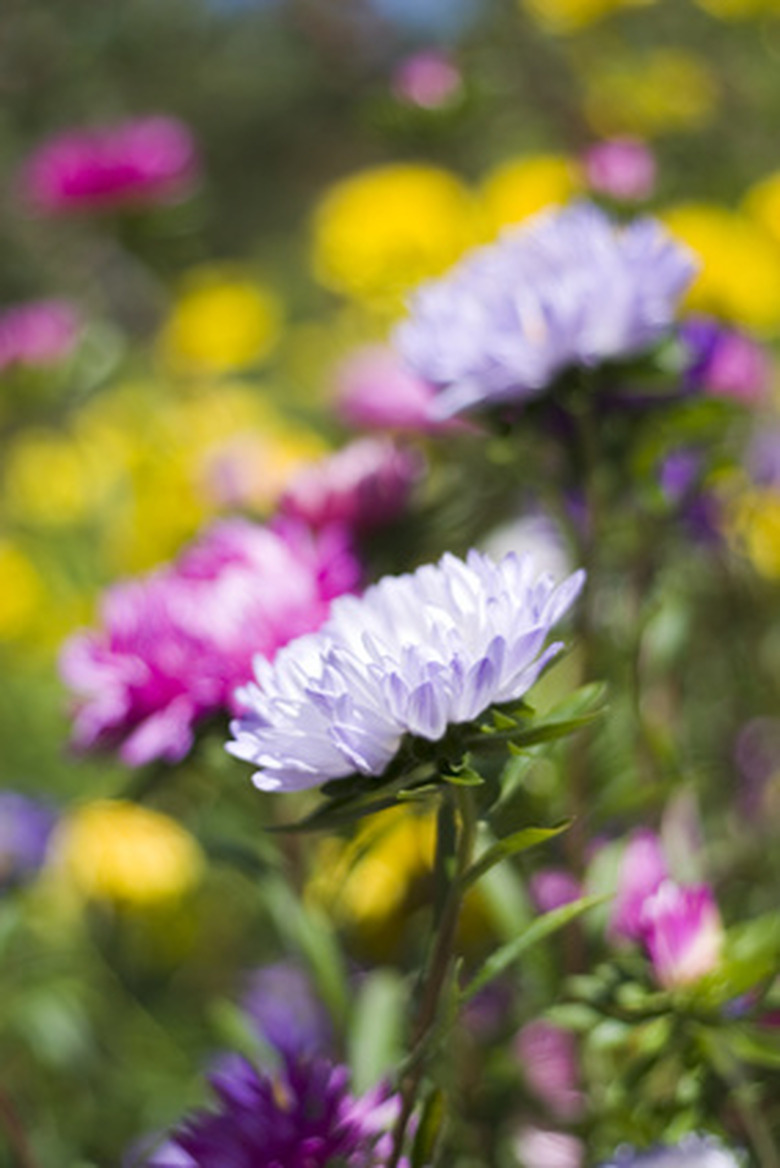
A wide variety of chrysanthemums exists to satisfy the taste of almost every gardener. From the large and robust chrysanthemums with bold blossoms and foliage, to the small and delicate mini chrysanthemums with tiny blooms and petite foliage, chrysanthemums can fit into virtually any sunny growing area. When you prefer the small blossoms and foliage, select a mini chrysanthemum cultivar, such as the Mini Marguerite, Mother Theresa or Mini Queen to add diminutive color and beauty to a growing area.
Step 1
Prepare a growing area in early spring that receives full sun exposure. Cultivate the garden soil to a depth of 5 inches. Add 1 to 2 inches of compost to the top of the soil and incorporate the compost into the soil with the garden spade.
Step 2
Dig holes for the mini chrysanthemum plants, spacing each hole approximately 1-1/2 feet apart. Make the holes deep enough to plant the chrysanthemum plants at the same depth as they are growing in their temporary containers and approximately twice as wide.
- A wide variety of chrysanthemums exists to satisfy the taste of almost every gardener.
- When you prefer the small blossoms and foliage, select a mini chrysanthemum cultivar, such as the Mini Marguerite, Mother Theresa or Mini Queen to add diminutive color and beauty to a growing area.
Step 3
Remove the chrysanthemum plants from the temporary containers carefully and place them into the prepared holes. Fill soil in around the roots of the plants gently and tamp the soil down firmly by hand.
Step 4
Water the plants until the soil is saturated. Keep the chrysanthemums evenly watered during the growing season and do not allow the soil to dry.
Step 5
Apply 1 to 2 inches of shredded mulch on the soil around the plants to keep the soil moist and cool. Do not allow the mulch to touch the chrysanthemum stems.
Step 6
Fertilize the chrysanthemum plants twice per month by mixing the fertilizer with water according to package recommendations. Pour the fertilizer carefully over the soil without allowing fertilizer to splash onto the plant foliage.
- Remove the chrysanthemum plants from the temporary containers carefully and place them into the prepared holes.
Step 7
Remove the top growth of each stem for the first half of the summer. Clip back this growth with the pruning shears to just above the first leaf node to encourage bushy, lateral growth and abundant flowering. Stop pinching the chrysanthemums when blooming starts.
Tip
Instead of planting mini chrysanthemums in the soil, plant them in containers for small, yet striking landscape displays. Select 4-inch-wide containers and place one chrysanthemum plant in each container. Set the containers in a sunny spot to provide continuous blooming color during the growing season.