How To Line A Planter
Things Needed
- Tape measure
- Polythene drop cloth
- Felt-tip pen
- Scissors
- Staple gun or waterproof glue
- Clothes pins
- Knife
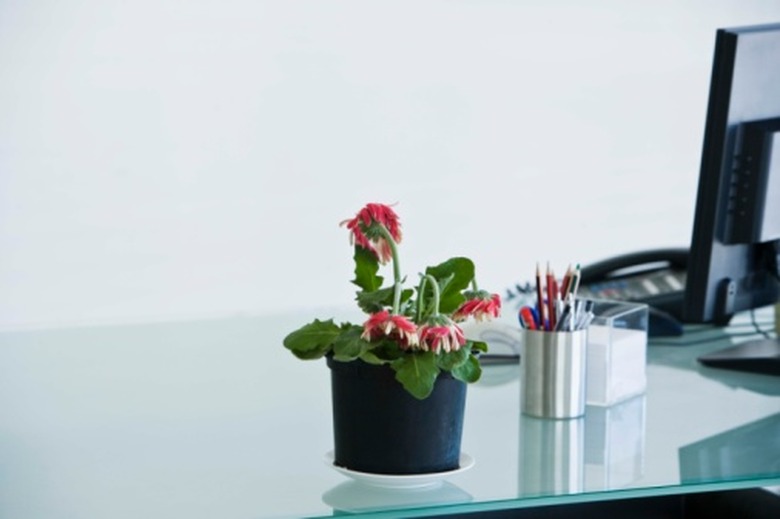
Planters come in a wide variety of shapes, sizes and materials and are useful for both indoor and outdoor container gardening. One problem that occurs with many planters is the internal soil leaks out of the bottom drainage holes. This creates a mess and reduces the amount of nutrients available to the plant. To reduce the soil loss, you can insert a liner into the planter prior to inserting plants. The liner still allows proper drainage but holds in the soil.
Step 1
Turn the planter upside down on a table. Place the end of a tape measure on one side of the planter where it meets the table. Stretch the tape measure over the top of the planter and down the other side until you reach the table. Make a note of the measurement, and then repeat the process to measure the width of the planter in the same manner.
- Planters come in a wide variety of shapes, sizes and materials and are useful for both indoor and outdoor container gardening.
- To reduce the soil loss, you can insert a liner into the planter prior to inserting plants.
Step 2
Open a plastic polythene tarp and transfer the measurements onto it using the tape measure and a felt-tip pen.
Step 3
Cut along the pen lines using scissors to trim the liner to the proper size.
Step 4
Turn the planter over, and insert the liner inside of it. Press the liner all the way to the bottom and firmly into any corners. Make sure that the sides of the liner comes up at equal distances around the sides.
Step 5
Secure the liner to the inside of the planter using staples and a staple gun for wooden liners or waterproof glue for metal and plastic planters.
Step 6
Attach clothespins over the top rim of the planter to hold glued liners in place for at least one hour until the glue dries completely.
- Open a plastic polythene tarp and transfer the measurements onto it using the tape measure and a felt-tip pen.
- Attach clothespins over the top rim of the planter to hold glued liners in place for at least one hour until the glue dries completely.
Step 7
Remove the clothespins, if applicable, and insert the tip of a knife into the inside bottom of the planter. Cut four to five 1/2-inch-long slits in the liner to allow for water drainage.