How To Revive An Old Camellia Bush
If your nice, tidy camellia bush has turned into a tree or is dropping its spent petals all over your driveway, it's time to get out the pruning tools and go to work. While you may want to train your camellia to a tree form, you want to do the training, not the other way around.
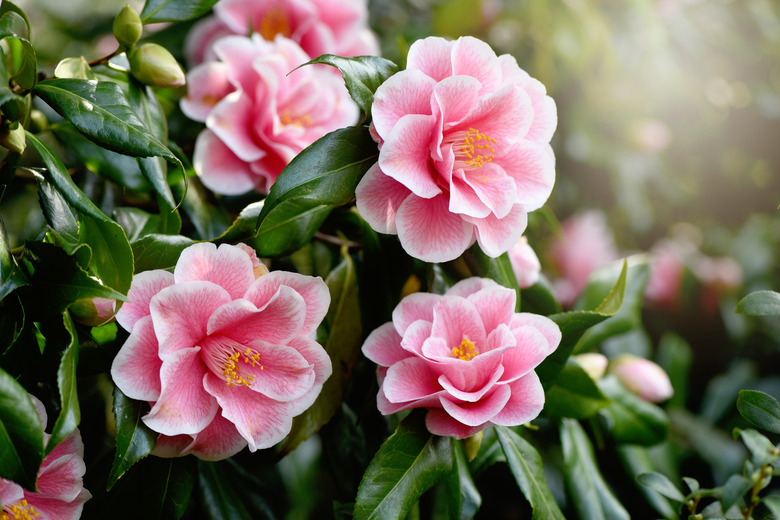
Camellias comprise hundreds of species, but the primary types grown in home gardens are Japanese camellia (Camellia japonica) and sasanqua camellia (Camellia sasanqua), both hardy in USDA zones 7 to 9, and their various hybrids. Pruning techniques are similar, but the timing depends on your camellia and when it blooms.
 C T Johansson
Pruning Times for Japanese Camellia vs. Sasanqua Camellia
Regardless of the type, prune your camellia after it has bloomed, or you will be snipping off all those hard-won blossoms before you get to enjoy them.
Japanese camellia, which is native to Japan and China and the species you are most likely to see in nurseries in the U.S., typically begins to produce buds in mid-summer. These put on girth, then burst open and bloom some time between December and March, depending on the cultivar.
This means that your window to prune will be some time after its bloom until early summer, although spring is best—because that's when the bush is most likely to recover from a heavy pruning.
Tip
Observe your camellia carefully before sharpening your pruners, because if it has already produced buds, you have missed your window to prune for this year.
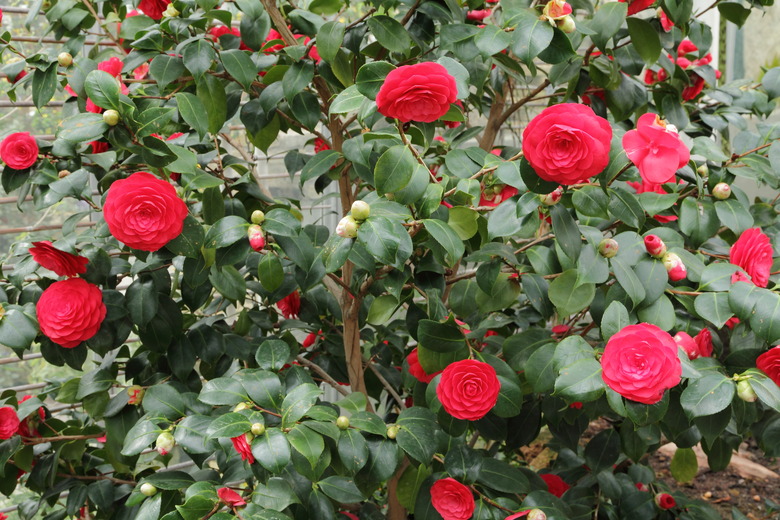
Native to Japan, sasanqua camellia tends to bloom over a very long period, sometimes starting in late summer and blooming through November or even December. Although again, this varies depending on the cultivar.
It will typically set bud six months before flowering, so that means your pruning window is from about December to perhaps March. Observe it carefully, however, because if it has already budded, you have missed this year's window to prune.
 松岡明芳
松岡明芳
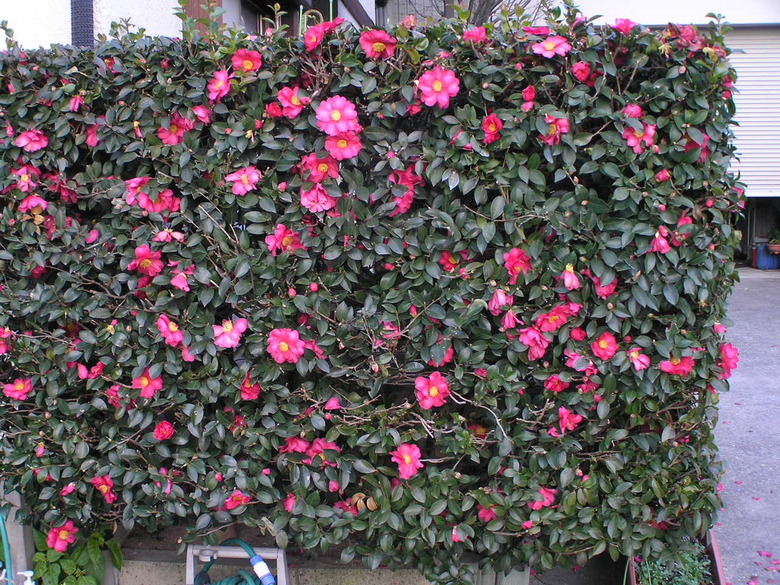
Pruning an Old Camellia Bush
Annual pruning of a camellia bush that has not become completely overgrown entails cutting the stems back to just above the previous year's growth. But if you are dealing with a veritable camellia-gone-wild, you have a bigger job ahead of you.
Know the Shape You Want
Before starting, know where you want to finish:
- Are you pruning your camellia to a tree form or a bush?
- If a tree, how far up do you want your branches to start?
- If a bush, what shape are you looking for?
This decision is really entirely up to you, because the camellia is a most obliging plant and can be trained to create an espalier, a bush or a tree in most cases.
Get to Work
Plan to remove from one-third to one-half of your bush—ouch. But be ruthless because large, overgrown camellias have powerful root systems to fuel their recovery. When the aboveground pruning is severe, the roots go into overdrive to supply the energy to regrow. Wherever you cut, you'll end up with several new stems.
Here are the basics:
1. Sharpen your pruners and sanitize them as well to avoid spreading any possible diseases. Sharp cuts minimize the possibility of disease as well. 2. Remove any obvious crossing or dead stems and branches. 3. Prune both large limbs and smaller lateral stems almost flush to their feeder branch at a 45° angle toward the ground. Don't cut into the parent stem, because you could damage it. You're aiming for maybe 1/4 inch away from the parent stem at an angle that allows water to run off rather than to sit, which could invite disease.
Tips for Transforming a Huge Camellia Into a Small Shrub
This is the most extreme scenario, and it entails a complete transformation of a very large, overgrown camellia into a small shrub. If this is your camellia, go grab some patience, because you should spread out this kind of extreme pruning over a three-year period, after blooming:
- Year 1: Cut it back to the height you want—this could mean lopping off several feet, but don't worry, it will all work out. In no time, you'll have a big, bushy crown above your cuts, but you'll also have new sprouts popping out of the trunk.
- Year 2: Again, cut these new shoots both on the trunk and the top back to the height you want.
- Year 3: Again, cut the bushy crown that has formed to the height you want.
By the end of the third year, your camellia should have a solid, bushy form. Be aware, however, that during this three-year period, your camellia will flower far less than you are used to, as it throws all of its prodigious energy into foliage growth.