How To Keep A Fuchsia Over Winter
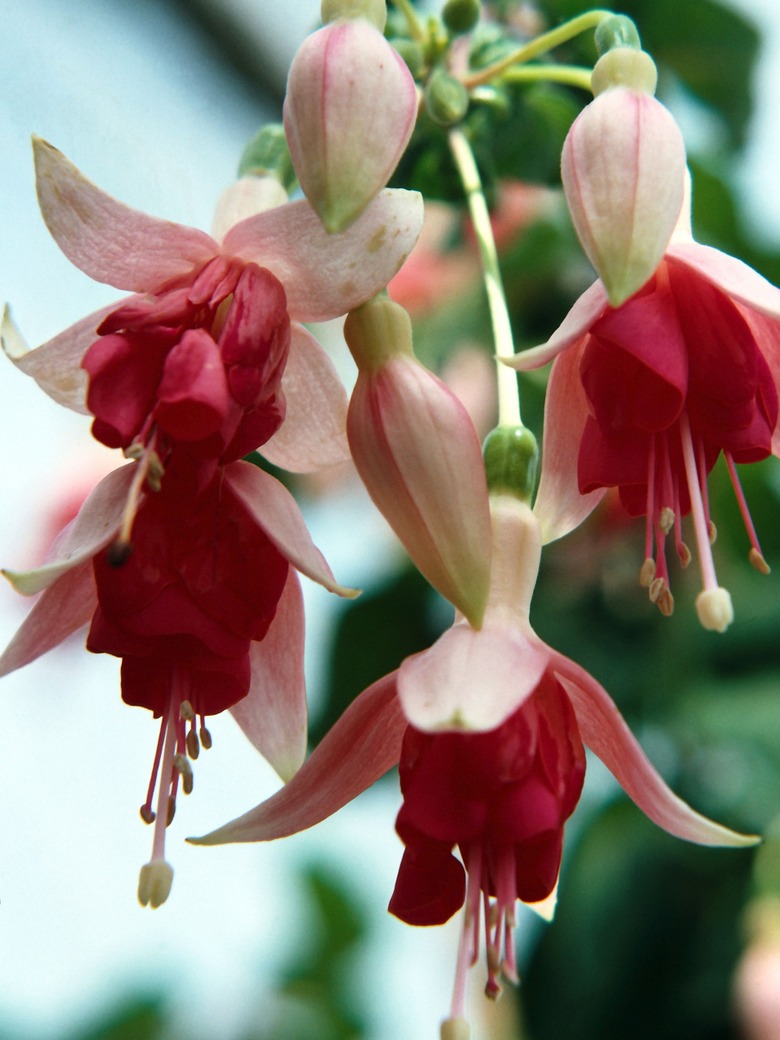
Exotic-looking fuchsia blooms flower profusely throughout the summer months in most climates. Each blossom has a double flower in two shades, with purple and pink and red and white being common. While fuchsias can tolerate light frost, a prolonged frost can kill the plant. The plant blooms year-round when overwintered indoors, but this can lead to decline. Instead, bring the fuchsias in and force them into dormancy so they can rest for the winter season. They will reward you with increased blooms in spring.
Step 1
Bring the fuchsia inside after the first frost. Cut back all stems to within 2 to 3 inches of the soil and remove all the foliage from the pot.
Step 2
Place the pot in a cool, dark area that has a temperature around 40 degrees F. An unheated garage, shed or basement works well.
Step 3
Water the soil lightly every two to three weeks. Provide enough moisture to just barely dampen the soil.
Step 4
Resume regular watering, providing enough to keep the soil evenly moist, once new growth appears in late winter. Move the plant to a 60 degree F location where it receives partial sun so it can put on new, healthy growth. Place it outside after frost danger is past.
Step 5
- Bring the fuchsia inside after the first frost.
- Place the pot in a cool, dark area that has a temperature around 40 degrees F. An unheated garage, shed or basement works well.