Plan the perfect garden with our interactive tool →

How to Build a Wooden Whipping Post

Jupiterimages/Photos.com/Getty Images

In order to fully comprehend the horrors of torture, authentic replicas of the tools used to inflict brutal punishment can have a powerful impact as a teaching aid. This includes the whipping post -- an innocuous looking yet barbaric device used to immobilize victims as they were mercilessly flogged. They were common on plantations in the Old South and have been used by tyrants through out history, Far from condoning such practices, building this hideous device today serves as an important reminder of mankind's potential for inhumanity. Although they took several forms, whipping posts were usually simple wooden poles or stakes to which an offender was tied or chained while being lashed for punishment. The person being punished was typically bound to the post by the wrists, with his arms stretched at length above his head to prevent them from collapsing.

Building a Whipping Post

Step 1

Dig a hole at least 18 inchs in diameter and 3 feet deep using a shovel and/or post hole digger. (Ensure that you dig below the freeze or frost line for your locality.) Set the wooden post in the hole. Pour one-quarter to one-half of the dry concrete mix into the hole around the post, and add water. While adding the water, use the shovel or a stout stick to mix the concrete as best you can. Repeat the process with the remaining concrete mix. Use a level to ensure the post is vertically straight each time you add concrete before it has a chance to set.

Allow the concrete to set for at least 24 hours and then fill the remainder of the hole with well-tamped dirt.

  • Dig a hole at least 18 inchs in diameter and 3 feet deep using a shovel and/or post hole digger.
  • ( Pour one-quarter to one-half of the dry concrete mix into the hole around the post, and add water.

Step 2

Cut the post at the desired height, bearing in mind that offenders were usually bound to whipping posts with their hands above their heads. (It is easier to cut the post before setting it, but make certain you know the exact height needed.)

Step 3

Jupiterimages/Photos.com/Getty Images

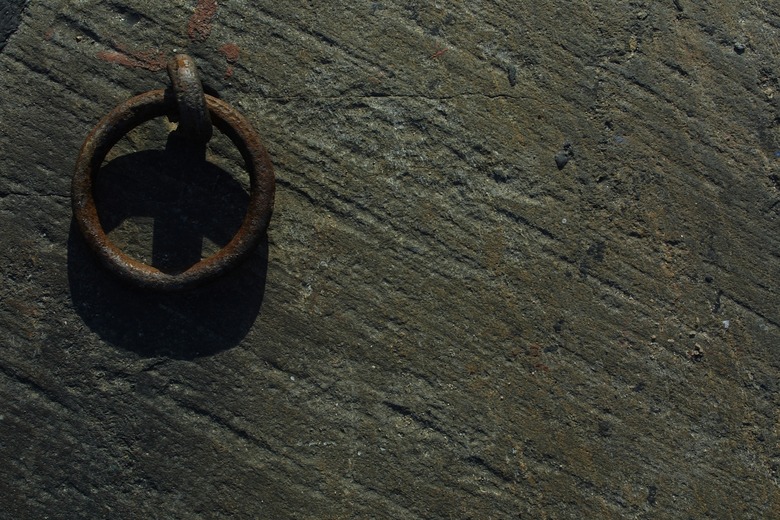
Drill a 3/8 inch hole through the post about 6 feet above ground level. Pass the ring bolt shank through the hole and secure it tightly with the nut.

Related Articles

How to Stabilize a Pergola
How to Do Footings for Steel Posts
How to Tie Wooden Posts to Cement Blocks
How to Anchor a Garden Arch
How to Install Log Posts for a Log House Deck
How to Set Deck Posts in the Sand
Cutting Cedar Trees to Use As Fence Posts
How to Hang Curtain Rods in Cement or Metal
How to Plant & Care for a Bur Oak Tree
Attaching a Hanging Planter to a Cinder Block Fence
Do it Yourself Sliding Gate Opener
Garden Guides
×