How To Sharpen Anvil Pruning Shears
Anvil pruning shears trap twigs between a cutting blade and a flat anvil jaw. Hand pressure forces the blade through the stem. Dull anvil pruners crush the wood, damaging the stump of the branch. Slow healing and infection can result. Sharpening the pruner (or replacing it) prevents unnecessary damage to valued ornamentals. Most modern pruning shears were not constructed for easy sharpening and do not fully disassemble. Careful sharpening does increase their useful lifetime, but replacement often makes better sense. The best types of anvil pruning shears include replaceable blades as well as anvils.
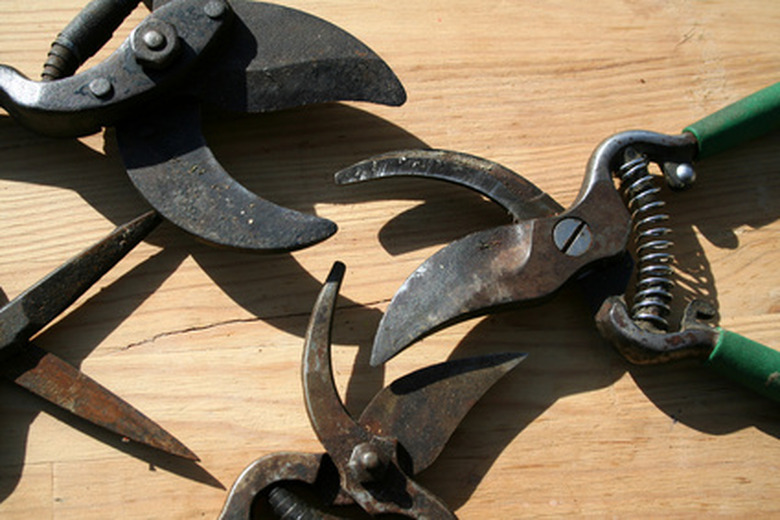
- Anvil pruning shears trap twigs between a cutting blade and a flat anvil jaw.
- Sharpening the pruner (or replacing it) prevents unnecessary damage to valued ornamentals.
Step 1
Open the anvil pruning shears completely, and fix the open handles securely in a bench vise with the anvil jaw to the left. If the anvil is the removable type, unscrew the replaceable jaw and set it aside.
Step 2
Check whether the cutting jaw is double-beveled or single-beveled with a flat back. Work on the beveled side first if the shears are single-beveled. Most anvil shears work with double-beveled blades.
Step 3
Pass the flat file over the full length of the bevel of the cutting jaw, stroking towards the anvil jaw. Keep the same angle as the original bevel. Use short strokes to prevent damage to the anvil jaw. Sharpen the opposite side of double-beveled blades until new metal shows along the full length of both sides.
- Open the anvil pruning shears completely, and fix the open handles securely in a bench vise with the anvil jaw to the left.
- Work on the beveled side first if the shears are single-beveled.
Step 4
Remove the bur by rubbing a flat diamond hone against the backside of the single-beveled blade. Alternate the flat hone against the bevels of both sides of the double-beveled blade to create a more finished edge.
Step 5
Replace the anvil plate on the anvil jaw.
Tip
Disassemble pruning shears by removing the central pivot bolt if possible. Most shears rotate on permanent fittings, but shears which disassemble offer full access to the cutting blade. Poor cutting action may be due to worn anvils as well as dull blades. If the anvil plate shows deep scarring, replace that jaw or buy new shears. Lubricating blades sometimes improves performance as much as sharpening. Rubbing the blade with a bar of soap prevents sap buildup and helps the blade slide through the work.
Warning
Repeated sharpening increases the gap between anvil and blade, causing incomplete cuts. If shears consistently give poor results even when sharp, replace them.
Things Needed
- Anvil pruners
- Bench vise
- Flat or Phillips screwdriver
- Smooth flat file
- Fine-grit diamond hone