Invite Owls To Your Yard With An Easy DIY Nesting Box
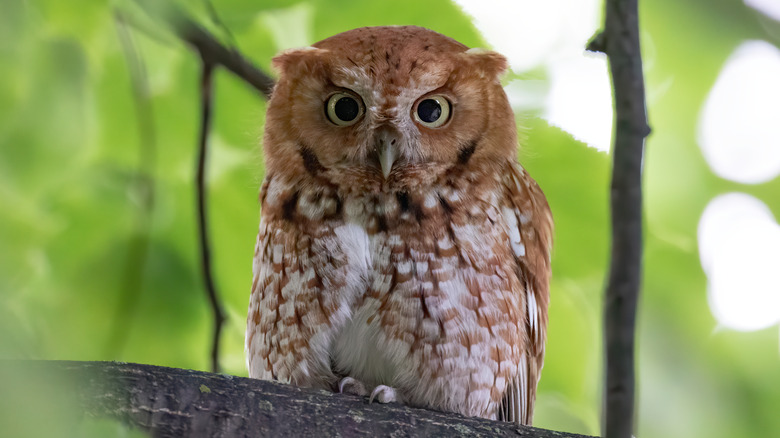
Most of us don't think about owls outside of occasional social media posts or jokes about their classic call. But these majestic hunters sit high up in the food chain, so they might help you get rid of lawn mice. So if you want to attract an owl to your yard, the best approach might be to DIY your own nesting box. A number of different owls, including Eastern screech owls, barn owls, and barred owls, gravitate towards boxes for their nests.
So, before you start, think about which kind of bird you want to attract. The box you make will vary in size and shape, depending on the owl you want to live in it. Also, certain owls prefer certain climates. Cornell L ab can help you decide which one might be the best species for your area, and they also have a host of different owl box designs available for free download.
One of the easier owl boxes to make is for the Eastern screech owl, which tends to live east of the Rocky Mountains. Unlike the barn owl, which requires an oversized box with two sections, the smaller, 9-inch tall screech owl can make do with a simple, single-section box. The best wood for this outdoor project is probably cypress or cedar board, about an inch thick. Grab a 10 inch by 8 foot board, two hinges with hinge screws, and 30 2-inch deck screws for this easy DIY nesting box.
Here's how to prepare the pieces for a screech owl box
As you get started building your new home, know that this box will be roughly between 15 and 18 inches tall with an 8-by-8-inch floor. It'll have a hinged door on top, so you can clean it out between nesting seasons. To get started, you'll want to cut the back board about a third longer than the front.
The back board will be longer so you can fasten that part to the tree trunk. Next, you'll need to cut the two side boards equal lengths, but with a slightly diagonal cut for a sloped lid. Then, cut out the square piece that will serve as the owl box floor to the 8-by-8-inch floor. Drill four small holes in the bottom so that water can drain out if it happens to get in.
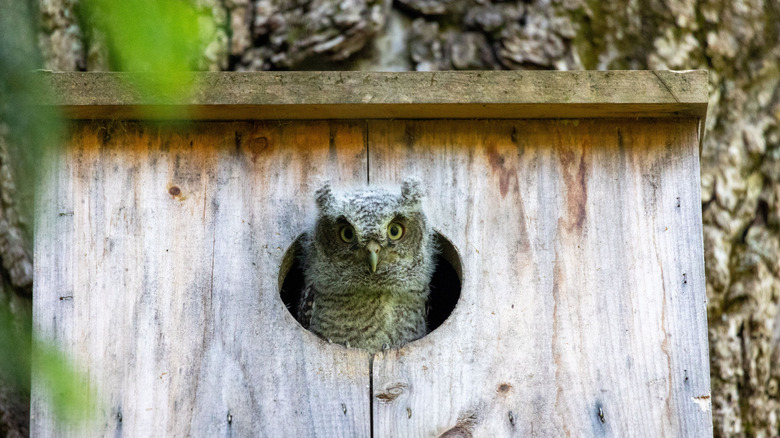
The final piece you'll need to cut is the box lid. This will be hinged to the back board, so you can access the inside at the end of nesting season. Make this piece slightly larger than the bottom piece, so it hangs over the edge. The overhang will also give the owl some cover when it goes in and out. Next, grab the front piece, and make a circle near the top that's at least 3 inches wide. It should be about 10 inches or so from the end of the board. Cut out the circle. This is where the adult owl will enter and exit.
Now you're ready to put it all together
To assemble all your pieces, screw the bottom piece to the longer back board. Make sure to put it a half an inch from the edge. Next, attach the side pieces to the back of the board and the floor using your deck screws. The final piece will be the hinged top. You'll need to screw the hinges to the top piece first, and then attach the top to the back board. The lid should open upward. If you want to, you can always install a small camera inside your owl box so that you can have a bird's eye view (literally) of the nest.
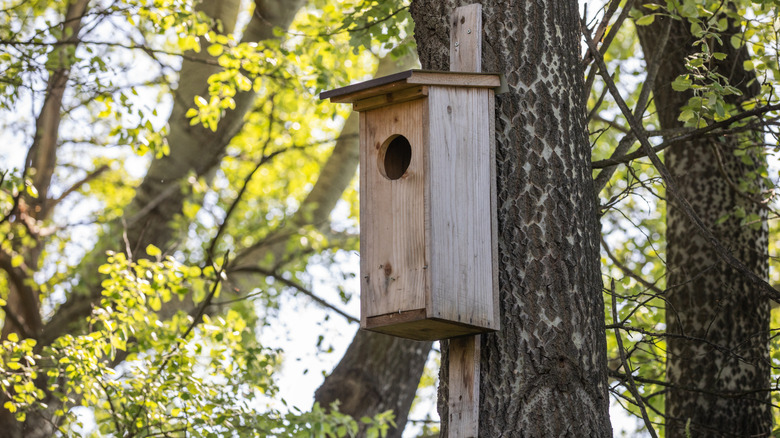
Next, you'll be ready to hang your box outside. Pick a spot at least 10 feet off the ground, but not higher than 30. Owls prefer a shady spot, near the tree line, and facing south or east. If you want to make the environment even more hospitable, turn off your backyard lights. These nocturnal hunters don't like light pollution, and will stay away from brightly lit areas.
It might take a little while for the owls to move in. Just be patient. It'll be worth it when they finally do arrive, since screech owls can benefit your yard or garden with their friendly visits.