Get Rid Of Garden Hose Clutter With A Stylish DIY That Tucks It Out Of Sight
If you've been tripping over the garden hose you've left in the yard and want a way to tuck it away without paying an arm or a leg, then we've got the perfect DIY project for you. Build your own little wooden storage box for your garden hose with some off-the-shelf boards.
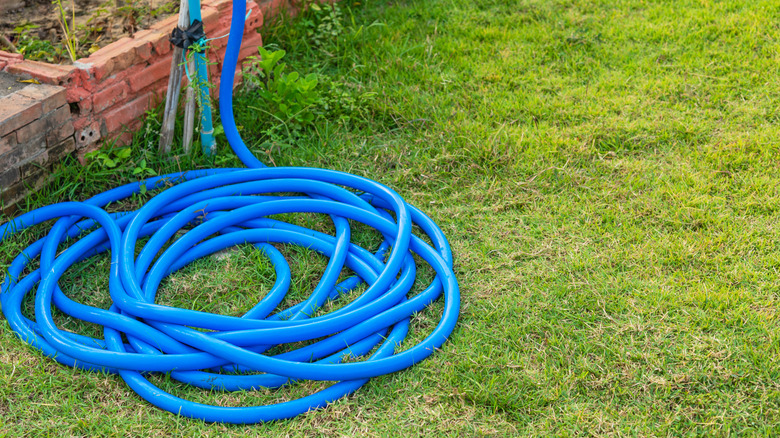
The main reasons to bother with hiding your garden hose in plain sight are aesthetic and protective. A tangle of rubber doesn't look cute in anyone's yard, and you can match the storage unit to the vibe of your home. Then the real money saver of this upgrade is that you can help your hose last longer. Harsh outdoor elements can shorten their lifespan, withsun and rain wearing out parts of a garden hose faster than if they're stored away. And, don't forget, leaving a hose attached to the spigot outdoors during freezing temperatures can cause even more problems than just hose leaks, including ruptured pipes.
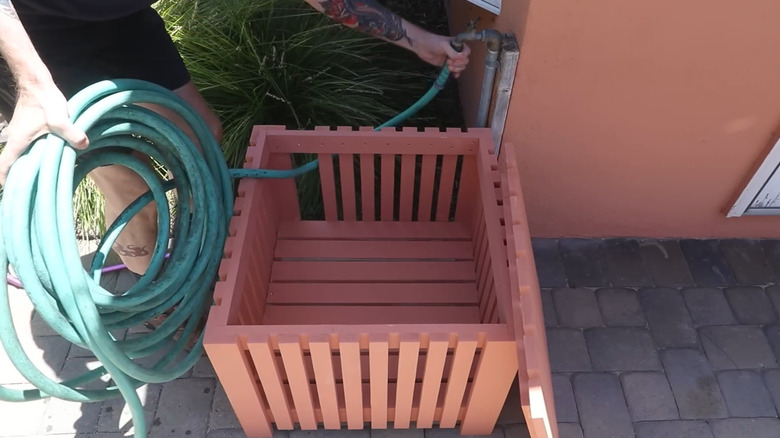
If you're looking to give your hose some extra protection, but you don't want to spend the $90 a big box store might charge you, say goodbye to hose clutter with an easy DIY solution. Using simple wood pieces, like DIY pro @steveramsey did on YouTube, can be an interesting project that lets you control the look of the piece and even hide the screws. You'll want to have some simple woodworking equipment to make this DIY cost-effective. As far as supplies, grab ten 1x3 boards, seven 1x2s, some 1 ¼ inch screws, a drill, a saw, and outdoor-ready latex paint. Once you've got your supplies together, don't forget safety goggles and gloves.
Here's how to put the pieces together
First, cut the 1x2 boards and 1x3 planks into even pieces — the length will be however tall and wide you want your box to be. The 1x2s will act as the walls, and the 1x3s will be used to build the floor of the box, the corners, and the top ridge. You can also use the 1x3s to make a lid, should you want one.
According to Ramsey, make the base and the top by forming two squares by screwing together the 1x3 boards. Each corner is formed by joining two of the 1x3 boards together with glue. To get this seamless corner, lay one piece flat, and then glue the edge of the second piece to it, forming a 90-degree angle. Once they have dried, stand up the corners, screwing them to your base. Fix the second empty square to the top of the corners, and screw it into place.
Now, add in the 1x2s, or the slats that make up the box's sides. Evenly space them apart, and screw them on from the inside of the box, making sure not to break the surface on the outside if you want the screws hidden. Once these are in place, you can frame out the lid and screw the remaining 1x3 pieces to make the lid's cover. Paint as desired. If you have wood left over, you might want to try building a matching decorative garden trellis.