Transform Thrift Store Plates Into Stunning Garden Pavers With A Clever DIY
As gardeners, we strive for a well-kept and exquisitely designed landscape. We put thought into the big picture: how the colors, shapes, and timing of the plants work together. But it's the small, unexpected details — spotted only with more careful observation — that add more character, personality, and whimsy to the yard. Incorporating these subtle surprises don't need to be costly or time-intensive. In fact, the thrift store is a perfect place to jumpstart your creativity. Look for miniature figurines to set up a village at the base of a tree, or reuse thrifted glass for stunning decor in the garden.
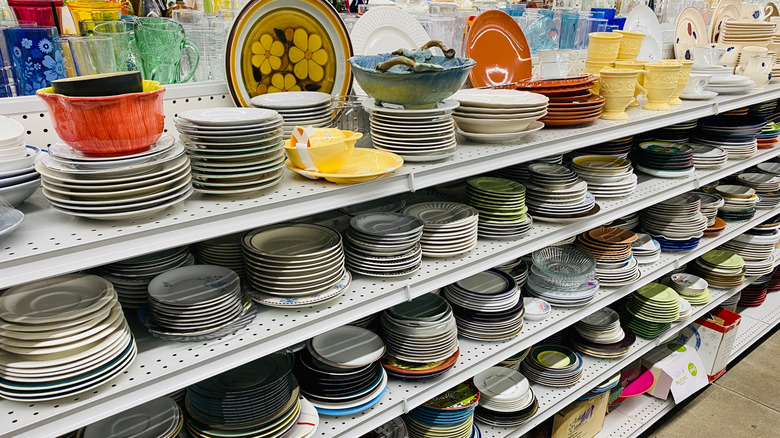
Another idea is to transform old plates into garden pavers, whether you find a set of dishware at the thrift store or you're upgrading and wondering what to do with your old dishes. If you know how to make pavers from Quikrete or have worked with a similar type of quick-drying concrete, then this project will feel familiar to you. All you need is safety gear, concrete mix, plates, and paver molds (which could be items like a cardboard box, plastic plant drip tray, or cake tin, depending on your preferred shape).
When choosing secondhand plates for your DIY pavers, think about what look you're aiming for. If your garden already has a color scheme, do you want your pavers to match? Do you want multicolored or monochromatic pavers? Patterns or plain? The joy of thrifting is that you never know what you're going to find on the shelves, and sometimes the hunt itself will give you more ideas than what you started with.
Instructions for making garden pavers
Once you've chosen your plates, break them into small pieces. You can either use tile nippers for precise cuts or go wild with a hammer. If you're doing the latter, put the plate in a cloth bag or pillowcase before smashing the plates, and always wear goggles and thick gloves to protect yourself from sharp edges. Make sure the pieces aren't too small, or else they will be difficult to work with.
The easiest method is to mix the concrete, pour it into the mold, and lay down the plate pieces, as shown in the video above. But for a cleaner look and a flatter surface, we recommend an extra step that involves using clear contact paper. First, trace the shape of your mold onto the contact paper. Next, cut out the contact paper and lay it in your mold, sticky side facing up. Arrange your design facedown on the adhesive. Once you're done, lift up the contact paper to check your design, and then rearrange the pieces if needed.
Next, mix the concrete according to the manufacturer's instructions. Pour about an inch of concrete into the mold, completely covering the design. For pavers that will need to withstand foot traffic, insert a piece of chicken wire for extra support before pouring a second inch of concrete. (If the paver is purely decorative, forgo the chicken wire.) Once the pavers are dry, remove them from the mold, and peel off the contact paper. Fill in any gaps around the plate pieces with concrete, and wipe off the surface of the design before the concrete sets. When deciding where to place your creations, consider which types of pavers work best in shaded areas or in full sun, and plan accordingly.