How To Propagate Crocosmia
Things Needed
- Pots
- Potting soil
- Seeds
- Plastic bag
- Fertilizer
- Trowel
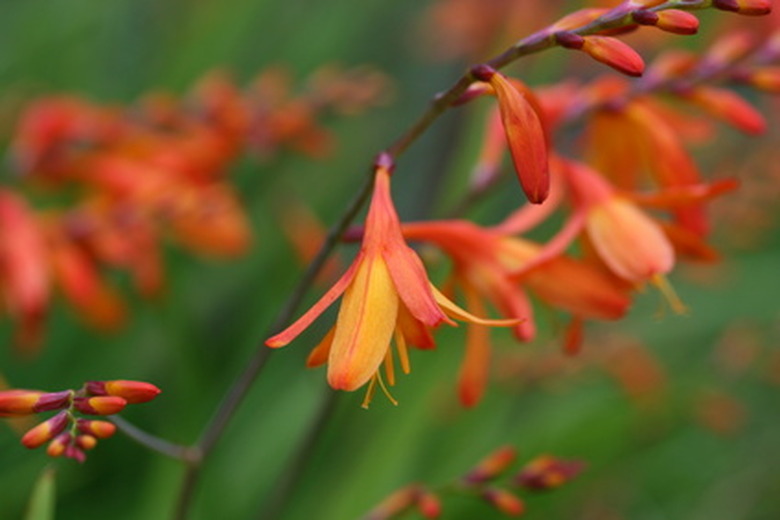
Exotic crocosmia is closely related to irises, though bright yellow or red flowers don't resemble this cousin. Crocosmia grows from a corm which is a root structure similar to a flower bulb. The corms store everything the crocosmia needs to grow. Over time, the corms produces small cormels, or offshoots, that can be planted to grow new crocosmia. Propagating the plant is often done by seed in late winter or by dividing the corms and cormels before new growth begins in early spring.
Seed Propagation
Step 1
Fill 3-inch diameter seed-starting pots with a sterile, well-drained potting mix. Set one crocosmia seed in each pot then cover the seed with an additional 1/4 inch of potting mix.
- Exotic crocosmia is closely related to irises, though bright yellow or red flowers don't resemble this cousin.
- Over time, the corms produces small cormels, or offshoots, that can be planted to grow new crocosmia.
Step 2
Water the soil in the pots until the excess moisture just begins to drain from the bottom. Cover the pots with plastic bags to retain the moisture in the soil during the germination process.
Step 3
Set the pots in a room that receives indirect light. Choose a room that maintains a temperature between 70 and 75 F for best germination.
Step 4
Water the soil in the pots if it begins to dry out before germination. Remove the plastic bags entirely once the first sprouts begin appearing, usually within three to nine weeks of sowing.
Step 5
Move the pots to a brightly lit area once the seedlings emerge. Water them when the soil surface begins to dry, and fertilize every four weeks with a half-strength balanced fertilizer.
- Water the soil in the pots until the excess moisture just begins to drain from the bottom.
- Water the soil in the pots if it begins to dry out before germination.
Corm Propagation
Step 1
Dig around the clumps of corms with a trowel. Slide the trowel under the corms, and lift them from the ground.
Step 2
Brush the soil off the corms and small, attached cormels. Break apart the corms and cormels, which are attached to the side of the main corm. Inspect each corm, and break off the lower portion of the corm which resembles a second, slightly withered corm that is attached to the main corm. Dispose of the the lower corm.
Step 3
Replant the crocosmia corms and cormels in a well-drained, full-sun garden bed. Plant each corm so the top is 3 to 5 inches beneath the soil surface, and space the corms 6 to 8 inches apart.
- Dig around the clumps of corms with a trowel.
- Inspect each corm, and break off the lower portion of the corm which resembles a second, slightly withered corm that is attached to the main corm.
Step 4
Water the corms immediately after planting, moistening the bed to a 6-inch depth. Water once weekly to maintain the moisture level in the soil.
Tip
Grow seedlings indoors for one year before transplanting them outdoors the following spring. Cormels can be grown indoors in pots until the following spring to ensure they root well without being subjected to pests.