How To Take Apart A Lawn Mower Engine
Things Needed
- Socket wrench set
- Screwdriver
- Small engine flywheel puller
- Allen wrench set
- Spark plug wrench
- Starter clutch removal tool
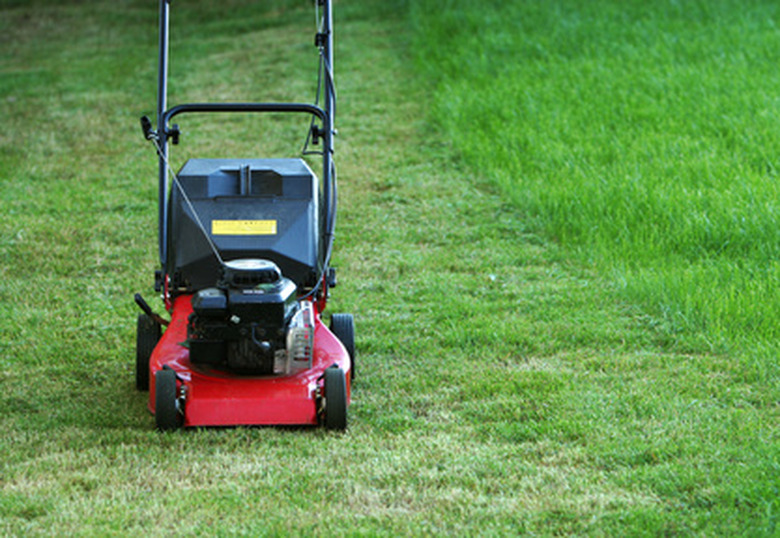
Lawn mower engines are used to power lawnmowers, tillers, blowers, go-carts and many other common items. With proper maintenance and care, the engines can last a long time. Over time, however, these engines slowly lose their power and their ability to run smoothly. When this time comes, it is necessary to take the engine apart and replace worn parts. Taking apart a lawn mower engine is a time consuming project that requires patience and a few special tools.
Step 1
Disconnect the spark plug wire and remove the spark plug. The spark plug is usually located on the top of a horizontal shaft engine, or on the side of a vertical shaft engine. Insert a spark plug wrench and socket over the spark plug. Turn the wrench counterclockwise to remove the spark plug. Drain the gas tank by disconnecting the fuel line and allowing the fuel to drain into an approved gas container. Drain the oil from the crankcase by unscrewing the oil drain plug. This is usually a square-shaped plug located on the lower side of the engine or on the bottom of the engine.
Step 2
Remove the three or four screws holding the flywheel cover in place and remove it. Unscrew the bolt or starter clutch holding the flywheel in place. The flywheel is located directly under the flywheel bolt or starter clutch. This may require a starter clutch removal tool. The flywheel is round with blower-like air blades. When spinning, the blades help move air around the engine. Use a flywheel puller to remove the flywheel. Unscrew the flywheel puller until the claws can reach the bottom of the flywheel when the screw tip is sitting on the end of the crankshaft. Tighten the screw until the claws have a solid grip on the flywheel. Continue tightening until the flywheel comes off.
Step 3
Unbolt the magnetron from the engine body. The magnetron sits beside the flywheel and houses the spark plug wire. Unbolt the carburetor and fuel tank. The carburetor is located on the side of the engine and is usually attached to the engine with two bolts or screws, depending on the size of the engine. Remove the screws holding the cylinder head in place; there are usually six to eight screws. Remove the bolts holding the crankcase (the bottom of the engine) in place and pull it off.
Step 4
Reach inside the engine, unbolt the lower part of the connecting rod and remove it. The connecting rod connects the piston to the crankshaft. The connecting rod is small at one end and very large at the other end. Push on the connecting rod until it pops out the top of the cylinder head. Do not let the screws on the connecting rod touch the engine's main bearing on the crankshaft or the cylinder walls, as it may get scratched and damaged. Pull the crankshaft out of the engine.
Step 5
Unscrew the bolt holding the governor control lever in place on the side of the engine. Pull the lever off. Pull the governor weights, gear and governor control rod out of the engine.