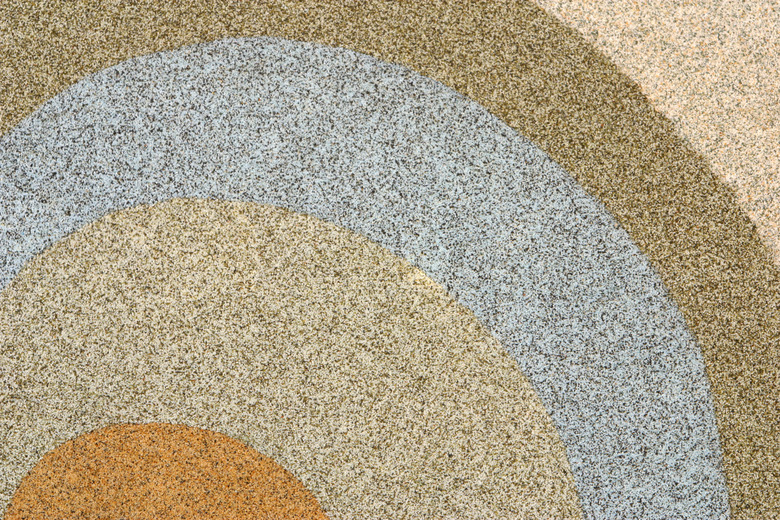
How To Repair A Poly Pebble Patio
Step 1
Remove any dirt or debris from the patio with a push broom, concentrating on the damaged area to clear away anything covering that area. Clear out any cracks in the surface with a nylon brush.
Step 2
Examine the damaged area to determine how deep the damage goes into the surface. If the damage is contained only in the polyurethane or coating, then you'll see a small coating above the pebbles beneath. If you can feel the rounded surface of the pebbles, but there are no pebbles missing, then your damage extends only through the epoxy covering level. Visibly lost pebbles will require replacement.
Step 3
Mix about a quart of the 2-part epoxy in a small bucket with a wooden stir stick, following the mixing ratio for the components provided by the epoxy manufacturer. Mix the epoxy well, scraping the edges of the bucket to make certain you have all of the components mixed into the liquid until the liquid is clear of streaks from unmixed material.
Step 4
- Remove any dirt or debris from the patio with a push broom, concentrating on the damaged area to clear away anything covering that area.
- Mix the epoxy well, scraping the edges of the bucket to make certain you have all of the components mixed into the liquid until the liquid is clear of streaks from unmixed material.
Step 5
Fill any cracks running through the patio, and the space above damaged areas running onto to the epoxy coating level with the mixed epoxy. Use a putty knife to force the epoxy into the crack, filing it to the level of the surrounding surface.
Step 6
Add the pebbles to the mixed epoxy, using an equal amount of pebbles by volume. Make sure you use a pebble mix that closely resembles the pebbles of your patio surface. Mix the pebbles into the epoxy until completely covered by the epoxy mix.
Step 7
Fill the section of the patio that has missing pebbles with the epoxy and pebble mix. Use a steel trowel to press the pebble mixture in place. Fill the hole in the pebble surface to the same level as the surrounding pebbles.
Step 8
- Fill any cracks running through the patio, and the space above damaged areas running onto to the epoxy coating level with the mixed epoxy.
- Use a putty knife to force the epoxy into the crack, filing it to the level of the surrounding surface.
Step 9
Mix a second batch of epoxy without pebbles. Spread the new batch over the repaired surface, placing about a 1/8-inch layer of epoxy onto the surface with the paint roller. This will replace the protective epoxy topcoat over the damaged areas. Allow the damaged areas a full night to cure.
Step 10
Mix the two-part acrylic polyurethane in a new small bucket with a new stirrer. Follow the manufacturer instructions on component ration needed as well as the amount of polyurethane needed to cover the surface area of your patio. The surface area is the length of the patio multiplied by its width. Use a tape measure for the necessary measurements.
Step 11
- Mix a second batch of epoxy without pebbles.
- Spread the new batch over the repaired surface, placing about a 1/8-inch layer of epoxy onto the surface with the paint roller.
Step 12
Fill a hand-pump sprayer with the polyurethane. Spray the coating over the patio, leaving behind a moderate layer of the liquid. You want to be able to see the liquid after application without pooling it in place, as it's only an overcoat to provide the needed UV protection. Allow the polyurethane 48 hours drying time before stepping onto the patio surface.