How To Build A Simple Grow Box
Things Needed
- Old PC case
- Hot glue gun
- Glue sticks
- Sliver car windshield sun reflector
- Power strip
- 4 compact fluorescent lights
- 4 socket adaptors
- 2 PC fans (available online; see Resources for link)
- Remote control (available online; see Resources for link)
- Extension cord
- Small thermometer
- Small plastic
- Small plastic tub with lid (to fit inside PC case)
- Utility knife
- Drill and 2-inch hole saw
- 4 empty yogurt cups approximately 2 inches in diameter
- Duct tape
- Perlite (found in the garden center)
- Seeds
- Single disc pond fogger
- Water
Tip
Know your plant. With a grow box you can adjust the climate to suit individual varieties. Give your plants commercial liquid plant food when you change the water. Check on your system at least once a day. If you need a larger system, the same basic structure of the PC grow box can be applied to a larger container; just remember to add more lights and possibly a larger set of fans.
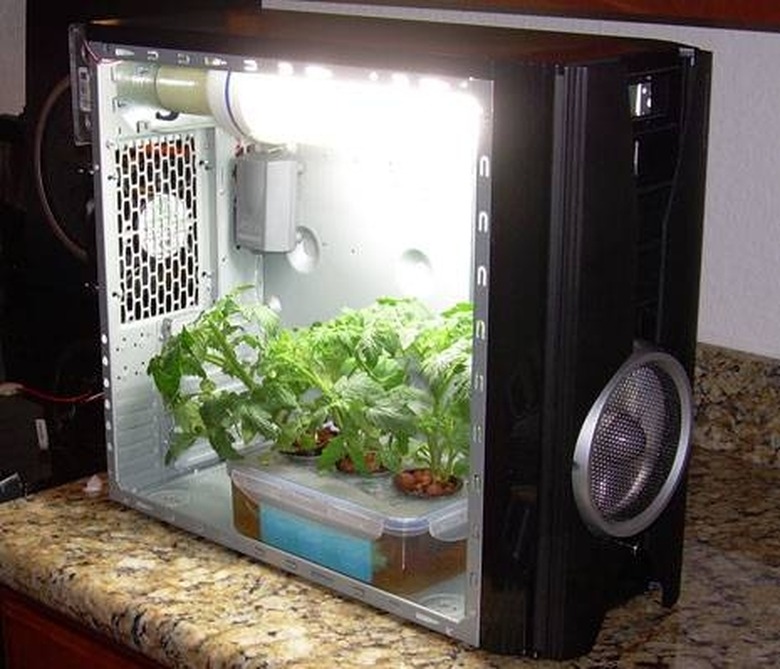
A grow box is a self-contained environment for growing plants. Grow boxes are totally enclosed, containing their own light and ventilation systems, utilizing hydroponics as a growing medium. This type of controlled system allows gardeners to customize the surrounding elements and achieve optimal plant growth, even in urban conditions where transplanting to larger patches of soil may not be possible. Pre-made grow boxes are available at garden centers and online, or you can build a simple grow box at home with a few basic skills and this guide.
Step 1
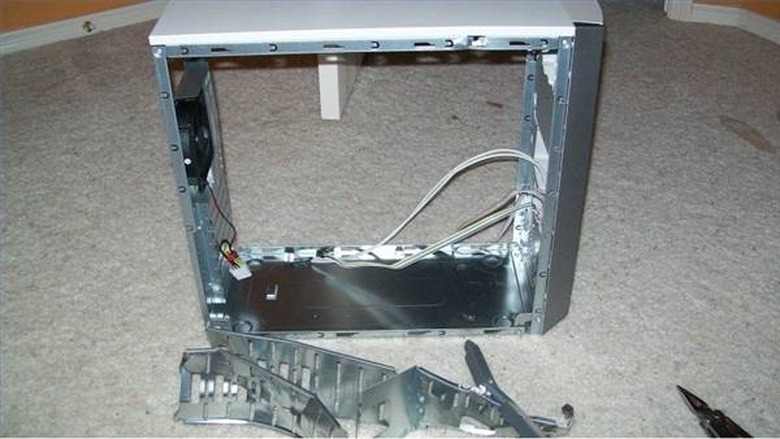
Strip the PC case, removing all the screws, shelves and hardware, but leaving the fan and the internal wiring in place. Remove the two largest sides of the PC case.
Step 2
Fit the fans into one of the short sides of the PC case, using metal cutters if necessary. Both fans should be on the same side of the case, one on the top and one on the bottom. Make sure one fan blows air in and one blows air out.
Step 3
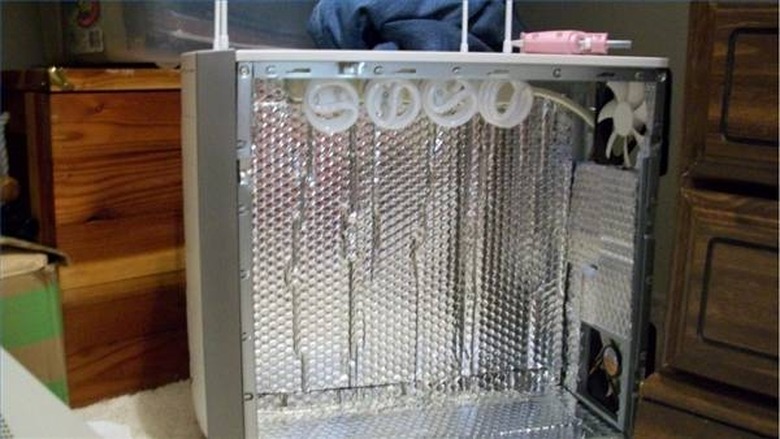
Cut the silver reflector to fit the PC case. Using the glue gun and glue sticks, attach it to all sides of the PC case, leaving only the fan uncovered.
Step 4
Glue the power strip to the top of the PC case. Plug in socket adaptors. Screw in light bulbs.
Step 5
Insert hydroponics system (see next section) and attach a thermometer to the inside wall.
Step 6
Remove the lid from the plastic storage box. Using the drill, make four 2-inch holes with the saw. If the tub is made of hard plastic rather than rubbery material, work slowly to prevent the lid from cracking or shattering. Holes can also be made with a utility knife if you don't have a drill.
Step 7
Thoroughly clean and rinse the yogurt cups. Test them for fit in the lid. Make sure they fit snugly inside the holes. If the holes need to be expanded slightly, rub them with sandpaper.
Step 8
Remove the cups and cut with a utility knife, making ¼ inch lines around the outside and across the bottom of the yogurt container. This will allow water to enter, but will keep the growing medium from falling through.
Step 9
If your box is opaque, move on to step five. If your box is clear, cover it with duct tape, leaving a small vertical area exposed to allow you to observe the water level inside the container.
Step 10
Fill the yogurt cups three-fourths full with perlite. Fill the perlite cups with water. Drain and discard water. Repeat five times or until the water is clear.
Step 11
Cut a hole in the corner of the lid with your utility knife. Run the power line for the pond fogger through the hole and place the fogger in the tub. Fill the tub with water until the fogger is covered by at least ½ inch of water.
Step 12
Replace the lid and plug in the fogger.