Growing Pittosporum From Cuttings
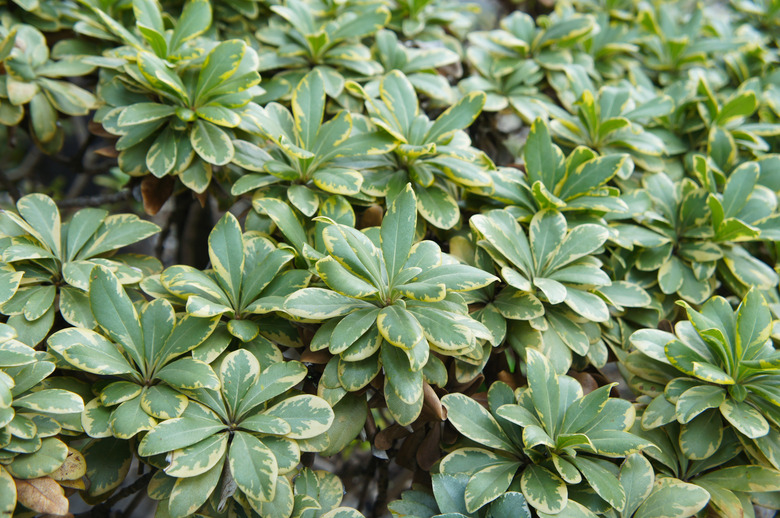
The genus Pittosporum is a collection of approximately 200 species of evergreen shrubs and small trees native to China and Japan. The University of California notes that these plants are often sheared into topiaries, used for ornamental landscaping and manicured hedgerows. Most plants in this genus sport thick, waxy leaves and late spring blooms that emit a heady scent akin to oranges.
Depending on the species and cultivar, most plants typically are hardy in zones 7 through 11 in the United States, and these selections are also popular choices in New Zealand and Australia. Readily propagated by cuttings, this group of ornamental beauties ranges in size from 2 to 15 feet in height. You can also start plants from pittosporum seeds. Propagating a pittosporum tree from cuttings, however, yields a larger plant more quickly.
Step 1: Choose Suitable Cuttings
Choose a 4- to 6-inch lateral shoot or tip cutting at the upper portion of the plant from which to take a cutting. For improved rooting success, the North Carolina State Extension recommends taking semi-hardwood cuttings — partially mature, firm wood with fully formed leaves from the current season's growth — starting in mid-July through early autumn.
Step 2: Take the Cuttings
The best time of day for when to take pittosporum cuttings is in the early morning hours when plants have the highest level of moisture. Cut off the chosen lateral stem at the base, nearest the terminal branch. If the cutting is not going to be immediately replanted, place it in a plastic bag with moistened paper towels and refrigerate until planting time.
Step 3: Strip Foliage from Cuttings
Remove all foliage and buds from the bottom half of the cutting.
Step 4: Dip Cuttings in Rooting Hormone
Treat the cut end of the branch with rooting compound by dipping the cut end into liquid or powdered rooting hormone compound and tapping off any excess. This improves the success rate of cuttings being able to develop roots and more quickly establishes pittosporum root systems.
Step 4: Press the Cuttings in Medium
Insert 1/3 to 1/2 of the cut end of the stem vertically into the planting medium. If planting more than one cutting in the same container, allow enough space between each so that light can reach all existing leaves.
Step 5: Water the Medium
Add just enough water to moisten the potting mix and set the cutting, then cover the pot with a clear plastic bag and secure the top to form a mini-greenhouse. If water builds up on the inside of the plastic bag, remove it and allow the plant to air out for 2 to 3 hours.
Step 6: Keep Cuttings Moist
Place the cuttings in a location with indirect light, but out of direct sunlight, and mist them daily to keep the soil moist until the cuttings have rooted. Do not expose cuttings to excess heat or humidity during the rooting process.
Step 7: Transplant Rooted Cuttings
Transplant the cuttings to a new pot once they have rooted, typically 3 to 4 weeks later, and allow them to develop a stronger root system throughout the course of winter.
Step 8: Perform a Soil Test
Test soil in permanent location, before transplant, to determine the type and dosage of fertilizer required for the newly rooted pittosporum plants. Research has shown that fertilization has little effect on foliage growth; therefore, if the planting site is already balanced, fertilizer is not required for healthy pittosporum plants.
Step 9: Determine When to Transplant Cuttings
Transplant rooted cuttings to their permanent location in the spring, after all chance of frost has passed for the location.
Step 10: Transplant the Cuttings
Dig a hole 4 to 6 inches deep and set the cutting into the hole, replacing soil and patting it down to hold the plant upright.
Step 11: Water the Transplanted Cuttings
Water the transplanted pittosporum thoroughly to set it and then apply a 2- to 3-inch layer of mulch around the base of the plant to maintain moisture and prevent disease.
Things Needed
- Sharpened pruning shears
- Plastic bag
- Paper towels
- Rooting compound
- Sterile potting mix
- Pot
- Clear plastic bag (large enough to cover pot)
- Rubber band
Tip
Avoid taking cuttings from stems that have buds, or remove buds after cutting, so that all energy can be focused on producing new roots. Dip pruning shears in rubbing alcohol to prevent transference of disease when making multiple cuttings.
Warning
Avoid plants that show signs of disease or distress for best results.