How To Remove The Head On A Husqvarna Trimmer
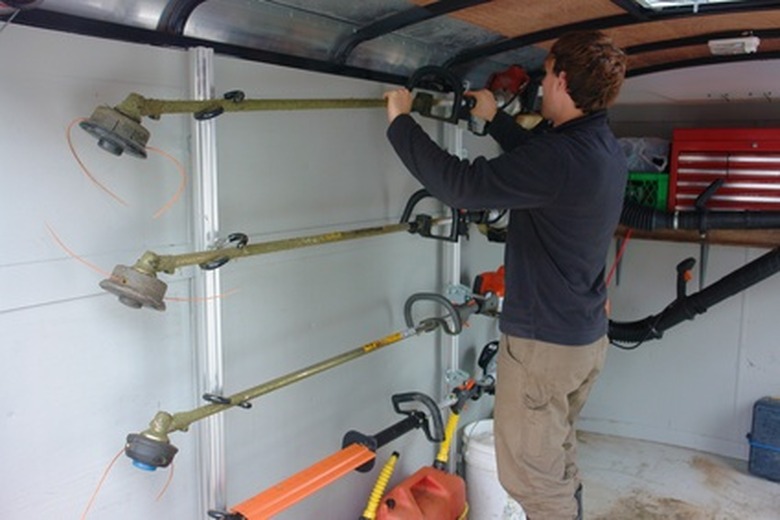
Replacing the trimmer line or spool on your trimmer will require removal of the trimmer head. Removing the head on a Husqvarna trimmer depends on what type of head your model uses. The trimmer head could have a bump feed, a single line or a double line. Each of these have slightly different methods of removal. You will be able to see what type of head your unit uses just by looking at the bottom of the head and the number of strings you have.
No Bump Feed: Single Line
Step 1
Unplug the spark plug wire from the spark plug. Place the trimmer on its side with the gasoline filler neck pointing up to avoid fuel spills.
- Replacing the trimmer line or spool on your trimmer will require removal of the trimmer head.
Step 2
Place your fingertips in the top grooves of the head where the upper head connects to the lower head. Press the tabs in with your fingers and lift the upper portion of the head off the trimmer.
Step 3
Insert the locking pin into the hole in the gear housing to lock the gears in place. The locking pin is a small steel rod that will fit in a hole on the gear housing above the lower head. With the gear housing in a lock position, turn the lower portion of the head counter-clockwise to unthread the head from the trimmer.
Bump Feed: Replaceable Head
Step 1
Place a wrench over the dust cup nut to hold the cup in place. The dust cup is between the bottom of the trimmer shaft and the top of the head.
- Place your fingertips in the top grooves of the head where the upper head connects to the lower head.
- With the gear housing in a lock position, turn the lower portion of the head counter-clockwise to unthread the head from the trimmer.
Step 2
Grasp the sides of the head and turn the head counter-clockwise to unthread it from the shaft.
Step 3
Pull the trimmer head away from the shaft and pull the dust cup off to inspect the cup and the shaft nut prior to replacing the head.
Bump Feed: Dual Line
Step 1
Hold the top of the spool housing with one hand and press the locking tabs on the bottom of the spool housing with your other hand. Pull the top of the housing straight off the lower housing.
Step 2
Lift the trimmer spool line out of the lower housing. Place a wrench over the dust cup to hold the dust cup in place and keep the shaft from spinning.
Step 3
Turn the lower housing counter-clockwise and pull it off the trimmer shaft.
- Grasp the sides of the head and turn the head counter-clockwise to unthread it from the shaft.
- Turn the lower housing counter-clockwise and pull it off the trimmer shaft.
Tip
You can use a 6-inch-long 1/4-inch diameter steel dowel if you cannot locate your locking pin tool.
Warning
Always disconnect the spark plug wire prior to servicing your trimmer