How To Repot Fern Plants
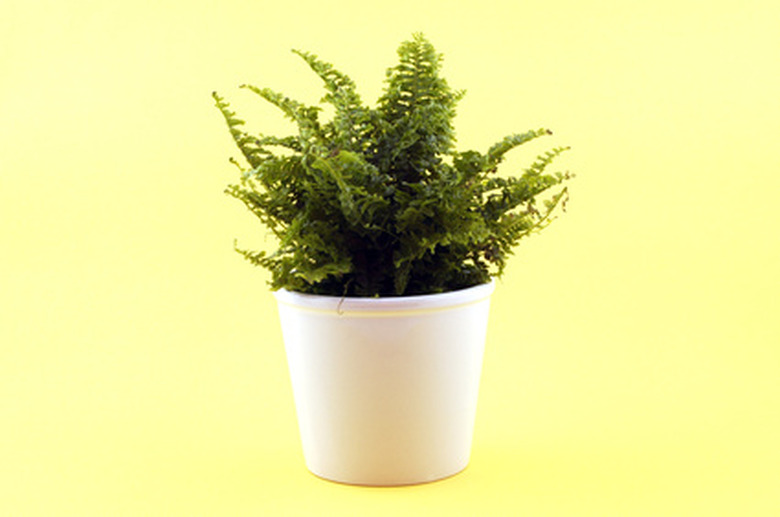
Fern plants add a natural beauty to any décor and make good houseplants. Used indoors around homes or outside on patios and decks, ferns grow best in low-light settings. Many tropical fern varieties flourish in high humidity locations, such as bathrooms. A healthy fern will continue growing until it fills up the pot. Repotting the fern at this time will ensure it keeps thriving. Plan to repot your fern in the spring for best results.
Step 1
Select a pot 2 inches deeper or 2 inches wider than the pot the fern is presently in. Use a new pot or thoroughly clean any pots previously used for other plants.
- Fern plants add a natural beauty to any décor and make good houseplants.
- Used indoors around homes or outside on patios and decks, ferns grow best in low-light settings.
Step 2
Create holes in the bottom of the pot for drainage, if none exist. Fill the pot with at least two inches of good quality potting soil.
Step 3
Take the fern plant out of the old pot. Loosen and remove most of the soil from around the roots.
Step 4
Cut off any damaged roots. Make four vertical cuts in the root ball of the fern to stimulate new root growth.
Step 5
Spread the roots out and place the fern in the new pot. Fill the area around the fern plant with soil.
- Create holes in the bottom of the pot for drainage, if none exist.
- Make four vertical cuts in the root ball of the fern to stimulate new root growth.
Step 6
Gently pat the soil to remove any air pockets. Fill the pot with soil to within 1 inch of the top edge.
Step 7
Water the repotted fern thoroughly. Do not add any fertilizer to the fern for at least four to six months.
Repot A Fern Plant With Rocks
Loosen the fern carefully in its current pot, using a gardening knife between the edge of the pot and its potting mix. Lift the plant out of the pot, grasping at the base of the stem and supporting the roots and soil from below. Place about a 1-inch layer of small, smooth, round rocks or gravel evenly in the bottom of the plant's new pot, which has bottom drainage holes. That water provides additional humidity for the fern. Alternatively, make a potting mix that is one-half potting soil, one-quarter peat moss and one-quarter a combination of equal portions of sand, charcoal chips and manure. Add to that potting mix 1 teaspoon of ground limestone per every 1 gallon of the potting mix. Put the potting mix in the fern's new pot, leaving enough space for the plant's roots. Pack down the potting mix lightly. Resume your normal care of the fern.
- Gently pat the soil to remove any air pockets.
- Loosen the fern carefully in its current pot, using a gardening knife between the edge of the pot and its potting mix.
Things Needed
- Pot
- Potting mix
- Knife
- Water
Tip
Divide your fern in half or quarter sections when repotting it, if desired. Separate the fern through cutting between the roots. Place each fern plant in its own new pot. Do this if you do not want to keep repotting the fern plant into larger pots.
References
- Guide to Houseplants: Repotting House Plants
- Garden Helper: How to Grow and Care for Boston Ferns
- University of Georgia: Growing Ferns
- North Carolina State University: Hardy Ferns — Dryopteris Intermedia; Dryopteris Spinulosa var. Intermedia
- Purdue University Cooperative Extension Service: Ferns for Indoors