How To Water Cedar Trees
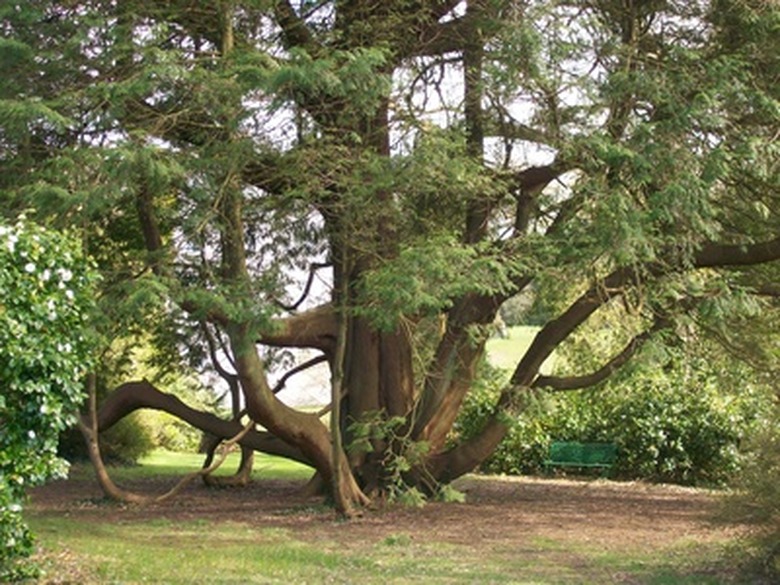
There are many varieties of cedar trees available in the United States. All cedar trees have a shallow root system. It is imperative that the trees have adequate water to use soil nutrients and prevent tree death. Cedar trees are drought tolerant but thrive better with a regular watering schedule. Newly transplanted, young cedar trees require more watering than established or older trees.
Initial Watering for Cedar Transplants
Step 1
Fill the hole for the new cedar tree transplant entirely with water prior to placing the tree into the hole.
Step 2
Allow the water to be absorbed completely into the ground.
- There are many varieties of cedar trees available in the United States.
- It is imperative that the trees have adequate water to use soil nutrients and prevent tree death.
Step 3
Place the cedar transplant into the hole and fill it with soil. Place a garden hose at the base of the cedar transplant. Turn the garden hose on at a low-water-pressure level. Allow the hose to run for 3 to 5 minutes to soak the ground thoroughly.
Watering Established Cedar Trees
Step 1
Check the base of the cedar tree twice weekly. If the soil is dry or only very slightly damp several inches down the tree needs to be watered.
Step 2
Turn the garden hose on at a low-water-pressure level. Place at the base of the cedar tree. Allow it to run for 3 to 5 minutes.
- Place the cedar transplant into the hole and fill it with soil.
- Turn the garden hose on at a low-water-pressure level.
Step 3
Watch the ground area for water absorption. Repeat watering with the garden hose for several more minutes once the ground beneath the cedar tree has absorbed the initial watering.
Cedar Trees
A native of the Himalayas, deodar cedar is an imposing tree that may grow to heights of 150 feet in the wild, though in cultivation it typically peaks out at about 50 feet. The tree offers rich green, aromatic foliage and broad, spreading branches. Both trees can be grown in containers (so long as the pot has a hole in the bottom for drainage), which helps to inhibit growth. Deodar cultivars include "Pygmy," a mounding dwarf with bluish green foliage, and the weeping "Prostrata," which rarely exceeds a height of 10 feet. Small potted trees can be decorated with ornaments and lights and placed on either side of a doorway for a truly festive, and aromatic, ambience. Those wanting to go the extra mile can plant other Christmas-like plants such as hollies (Ilex spp. ),
- Watch the ground area for water absorption.
- Both trees can be grown in containers (so long as the pot has a hole in the bottom for drainage), which helps to inhibit growth.
Warning
Do not water cedar trees too frequently during cold months when the tree is dormant or during inclement winter weather.
Tip
Water cedar trees more frequently during warmer months or low-levels of rainfall. Apply 2 to 3 inches of coarse organic mulch at the base of cedar trees to protect shallow roots and hold in moisture.
References
- North Dakota State University Hortiscope: Questions on Cedar
- NurseryTrees.com: Care of Your Trees
- Virginia Cooperative Extension: Cedars, Cedrus spp.
- Plants for a Future: Cedrus Atlantica
- Floridata: Cedrus Deodara
- Floridata: Cedrus Atlantica
- East Tennessee State University: Tree of the Week
- Plants for a Future: Cedrus Deodara Deodar
- Monrovia: Deodar Cedar