How To Grow Hydroponic Onions
Things Needed
- Power drill
- 20-gallon plastic bin with lid
- 1/2-inch and 3/4-inch drill bits
- 1/2-inch drain fitting with screen
- 3/4-inch drain fitting with screen and riser extension
- Submersible aquarium pump
- 2 feet of 1/2-inch flexible tubing
- 2 feet of 3/4-inch flexible tubing
- Concentrated nutrient solution
- Hydroponic pebbles
- Onion transplants
- Pump timer
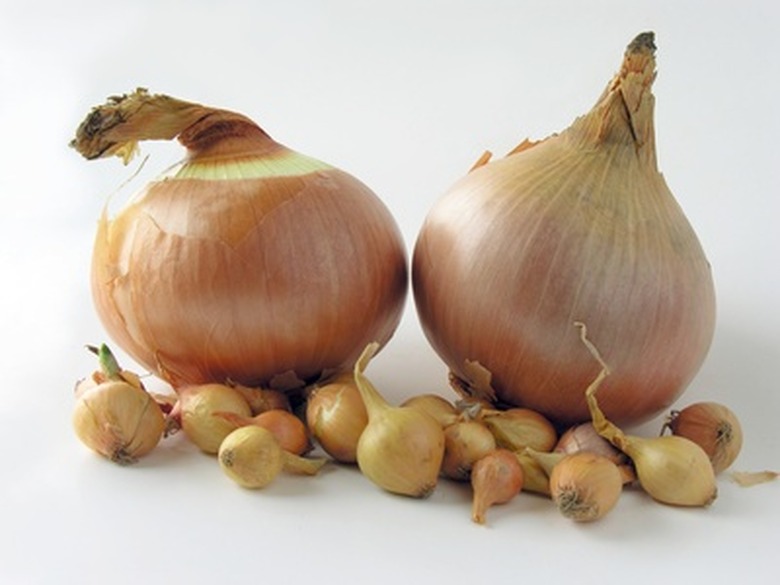
Onions are an ideal addition to the garden of any avid chef, especially since they are ingredients that are constantly used in cooking. When grown in hydroponics, you can produce any variety of onions (from the most common yellow,white or red, to other variations like shallots) year-round and not have to worry about the elements of weather or climate. The key to growing onions hydroponically is to set up the hydroponic system correctly and make sure to onions stay hydrated with water and nutrients.
Set up the Hydroponic System
Step 1
Drill two holes in the lid (one near the middle and the second by the edge) of the 20-gallon bin that are 1/2 inch in diameter.
Step 2
Drill a hole in the bottom of the bin that is 1/2 inch in diameter, near the middle. Drill another hole that is 3/4 inch in diameter in the bottom of the bin that is about three inches away from the first one.
Step 3
Install the drain fittings, screens and riser extension according to the directions on the package.
- Onions are an ideal addition to the garden of any avid chef, especially since they are ingredients that are constantly used in cooking.
- Drill two holes in the lid (one near the middle and the second by the edge) of the 20-gallon bin that are 1/2 inch in diameter.
Step 4
Position the pump in the 20-gallon bin, connecting the 1/2-inch tubing to the pump and running it through the 1/2-inch hole in the bin's lid. Connect this tubing to the 1/2-inch drain fitting in the bin.
Step 5
Attach the 3/4-inch tubing to the 3/4-inch drain fitting, running the other end of the tubing through the 3/4-inch hole in the bin's lid. Next, run the pump's cord through the other 1/2-inch hole in the bin's lid so you can plug it in.
Step 6
Secure the bin's lid on top, carefully positioning it so you don't bend any of the tubes or fittings.
Planting the Onions
Step 1
Fill the 20-gallon bin's nutrient reservoir with water and pour in the concentrated nutrient solution, following the package instructions, depending on the type you purchased.
Step 2
Fill the bin with hydroponic pebbles up to 2 to 2 1/2 inches above the riser extension. This is the top height that the water level will reach. The onions need to be kept above this water line, as their roots will rot if kept submerged.
- Position the pump in the 20-gallon bin, connecting the 1/2-inch tubing to the pump and running it through the 1/2-inch hole in the bin's lid.
- Next, run the pump's cord through the other 1/2-inch hole in the bin's lid so you can plug it in.
Step 3
Put the onion transplants on top of the pebbles. Fill around the transplants with more pebbles to make the plants more stable.
Step 4
Turn on the pump for 15 minutes to make sure that the water reaches the level line and then drain back to the reservoir. Connect the pump timer and set it to turn on for 15 to 20 minutes every hour.
Step 5
Observe the reservoir every day and make sure to refill it with more water to replace whatever evaporates. Twice a month (every two weeks) flush out the system with fresh water and create a new mix of nutrient solution.