How To Make A Bonsai Pot
Things Needed
- 1 lb. polymer clay
- Bowl of warm water
- Baking sheet
- Spray craft gloss primer
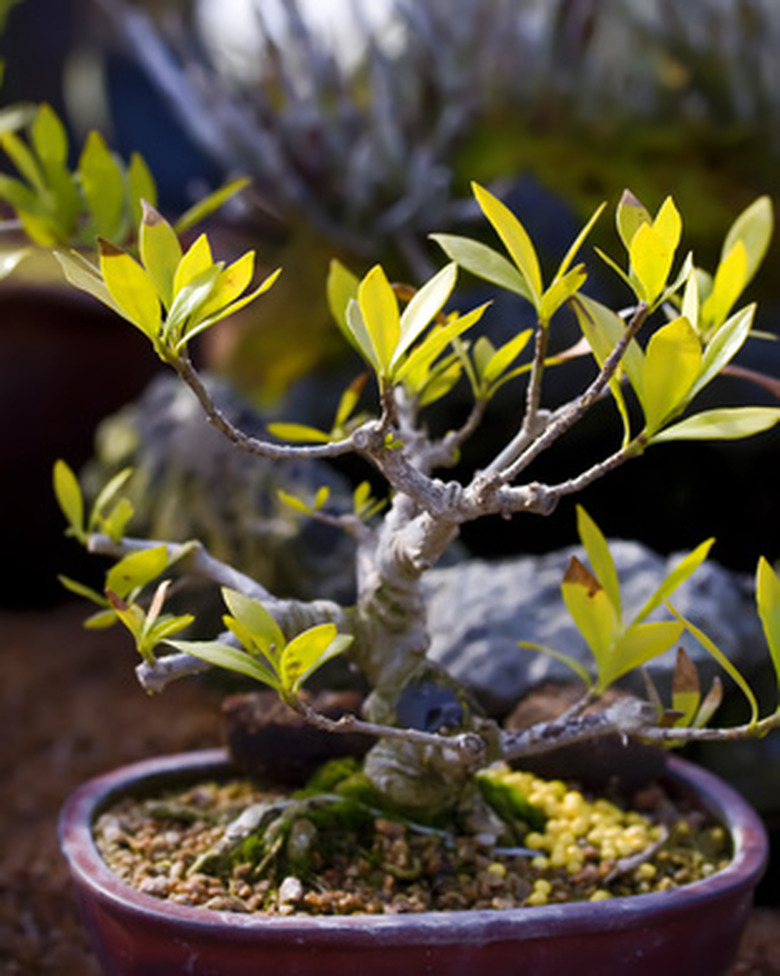
Bonsai is the Japanese art form of cultivating and maintaining a tree of small, compact size. This is done with specific tree species whose growth can be easily stunted by keeping the root system compact and in a tight spot. This involves the use of a bonsai bowl or pot. An easy endeavor with the proper materials, making a bonsai pot adds an extra personalized touch to your homemade bonsai creations.
Step 1
Break the polymer clay apart with your hands and then mold it back together to soften it. Work it with your hands to make it more pliable. Tear a wad from the 1 lb. ball of clay and roll it into a ball measuring about 3 inches in diameter. Set it aside.
- Bonsai is the Japanese art form of cultivating and maintaining a tree of small, compact size.
- Work it with your hands to make it more pliable.
Step 2
Dip your hands in the warm water and run it over the surface of the larger wad of clay. This adds to its malleability.
Step 3
Hold the wad of moist clay flat in the palm of one of your hands. Make a fist and indent it right in the center of the clay wad.
Step 4
Squeeze the sides of the indentation with your fingertips. This widens it and gives it a bowl-like shape. Do this around the entire circumference. Smooth up the sides and deepen the reservoir until you create a sort of bowl measuring 5 inches deep by 10 inches across.
- Dip your hands in the warm water and run it over the surface of the larger wad of clay.
- Squeeze the sides of the indentation with your fingertips.
Step 5
Place the smaller ball of clay between your palms and rub them together briskly. This rolls the ball into a long, tube-like like shape that resembles a worm. Connect the ends of the clay strip to create a ring measuring about 5 inches in circumference.
Step 6
Place the clay ring flat on the baking sheet, in the center. Place the handmade clay pot directly on top of it, making sure that the bottom of the bowl rests evenly on the clay ring. This creates an even base on which the pot sits.
Step 7
Place the baking sheet in your oven and bake it for 25 to 30 minutes at 400 degrees F. This hardens and sets the clay.
- Place the smaller ball of clay between your palms and rub them together briskly.
Step 8
Spray the gloss primer over the entire surface of the bowl as soon as it comes out of the oven. It will sizzle but the gloss will create pleasing, shiny textures all over the bonsai pot. Let it cool and dry for two hours before using it to plant your bonsai.