How To Attach A Planter Box To A Fence
Things Needed
- Tape measure
- Pencil
- 1/4-inch drill bit
- Drill
- 1 1/2 inch screws
- Level
- Screwdriver
- 12-gauge galvanized tie wire
- Wire pliers
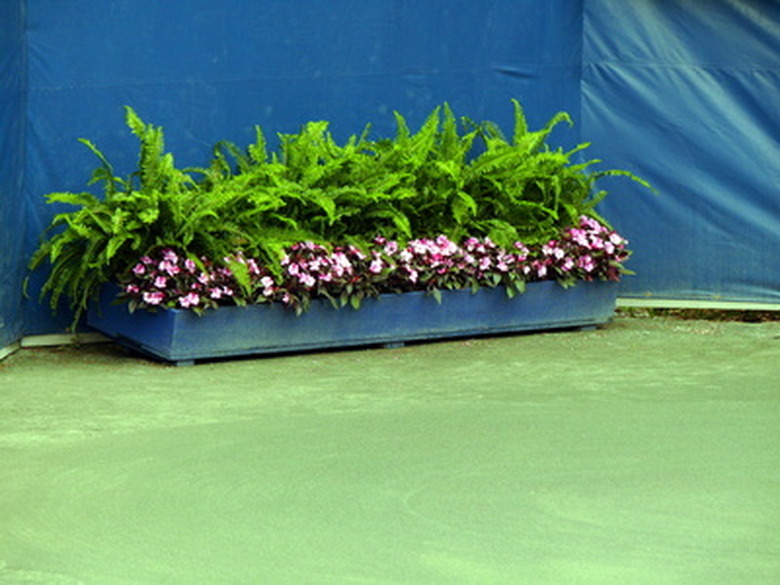
Attaching a planter box to a fence adds interest and color to the fence. The planter box allows you to grow annuals along the fence without having to make a suitable growing bed for the plants. Once you've attached the planter box, fill it with potting soil for the specific plants you want to grow. Mount the planter box while it is empty. Soil will add weight that can make the planter box difficult to maneuver.
Wooden Fence
Step 1
Lay the planter box on its front, with the face that is going to be attached to the fencing upward.
Step 2
Make marks using the pencil and tape measure every 6 inches across the board and 2 inches down from the top edge. As an example, a 48-inch long planter box will have five holes marked across the board.
- Attaching a planter box to a fence adds interest and color to the fence.
- The planter box allows you to grow annuals along the fence without having to make a suitable growing bed for the plants.
Step 3
Insert the 1/4-inch drill bit into the drill. Make a 1/4-inch hole at every pencil mark.
Step 4
Set the planter box up against the wooden fence at the height you desire. Start a screw through one of the end holes in the planter box and into the boards of the wooden fence. Allow the other end of the planter box to rest on the ground, if possible.
Step 5
Set the level on the rear board of the planter box. Raise the other end, of the planter box, until the bubble in the level falls equally between the two level lines. Screw the opposite end of the planter box to the fence. Finish securing the planter box to the fence with the rest of the screws through the remaining drilled holes.
- Insert the 1/4-inch drill bit into the drill.
- Start a screw through one of the end holes in the planter box and into the boards of the wooden fence.
Chain Link or Wire Fence
Step 1
Lay out and drill the holes as in Steps 1 through 3.
Step 2
Cut 8-inch pieces of the 12-gauge galvanized wire. Cut as many pieces of wire as there are holes.
Step 3
Slip the wire through one of the end drilled holes.
Step 4
Hold the planter box up to the height you want against the chain link or wire fence. Wrap the wire around the fence and back over the top of the planter. Twist the two ends together. Tighten the wire using the wire pliers. Fold the sharp ends of the wire downwards.
- Lay out and drill the holes as in Steps 1 through 3.
- Slip the wire through one of the end drilled holes.
Step 5
Level the planter box. Finish securing the planter box to the fence using the rest of the wire.
Tip
If the planter box becomes too heavy for the fence, you can place a support board under the front edge of the planter box. Run the bottom of the support board at an angle back to the base of the fence. In this way, the support board will be out of the way for the passage of a lawn mower underneath.
References
- “Build it Better Yourself”, William H. Hylton: 1977