Planting Seeds In The Classroom
Things Needed
- Cups
- Bowls
- Soil
- Plastic bags
Growing plants from seed allows students a hands-on way to experience the life cycle of a plant. The project demonstrates germination and plant needs, as well as provides the excitement of watching the plant grow from a tiny seed into a mature plant. While any type of seed works well, varieties that germinate quickly like beans or lettuce often work best in a classroom setting. Beans are commonly available and large enough that even young students can handle them easily.
Step 1
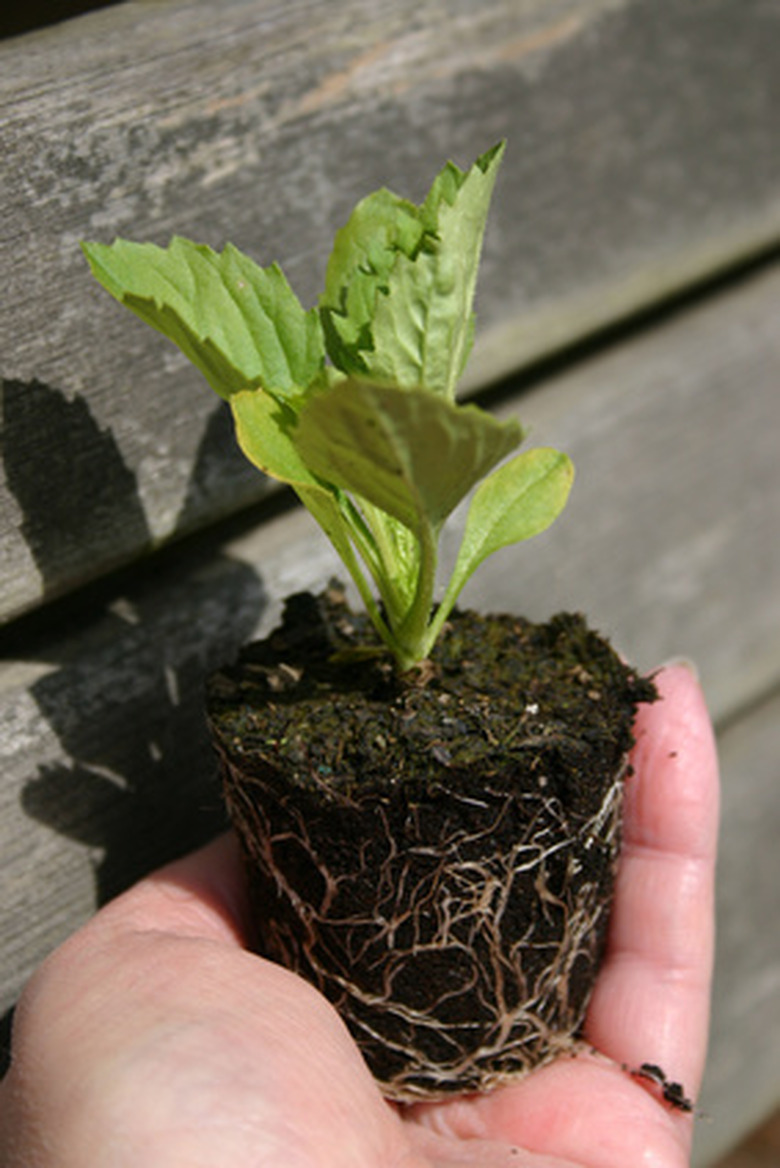
Give each student a disposable cup. Clear plastic cups allow the student to view the root system as it forms.
Step 2
Poke two or three drainage holes in the bottom of each cup. Younger students may require help with this or you may wish to poke the holes before handing out the cups.
- Growing plants from seed allows students a hands-on way to experience the life cycle of a plant.
- Clear plastic cups allow the student to view the root system as it forms.
Step 3
Fill the cups with potting soil, leaving a 1/2-inch space between the top of the soil and the rim of the cup. Set the filled cups into a disposable bowl.
Step 4
Water the soil until the excess moisture drains out the bottom and is caught in the bowl. Instruct students to empty the excess water from the bowl and explain how the soil can become too wet from soaking in the extra water if it was left in the bowl.
Step 5
Instruct each student to plant two or three seeds in the soil. Plant seeds at the depth indicated on the seed packets, usually about 1/2 inch deep for beans.
Step 6
Give each student a plastic bag and instruct them to slide the bag over the top of the cup. Explain how this forms a small greenhouse, which retains moisture in the soil and helps keep the bean warm during germination.
- Fill the cups with potting soil, leaving a 1/2-inch space between the top of the soil and the rim of the cup.
- Give each student a plastic bag and instruct them to slide the bag over the top of the cup.
Step 7
Set the covered cups in a warm, sunny place. Have children check their pots daily for sprouts. Instruct the students to remove the bags once the seeds sprout, as this allows the plants to breathe properly.
Tip
Have the students write their names on their cup so they don't get mixed up.