Front Tine Tiller Vs. Rear Tine Tiller
Choosing the right kind of tiller for your garden is an important decision. You need to consider the size of your garden and the type of gardening you do. A machine that is too small will not be able to do the job, while one that is too large for your needs will be hard to use and a waste of money.
Before you decide on size, however, you will need to choose between the two types of tillers. These are front tine tillers and rear tine tillers. In addition to the placement of the tines in relation to the engine, they have some other differences you should consider.
Front Tine Tillers
Front tine tillers tend to be slightly smaller, lighter and less expensive than rear tine tillers. The tines are in front of the engine, and it is the tines biting into the soil that propels the machine along. The wheels are not driven by the engine. The tines rotate forwards, which means that the user has to constantly hold the machine back to make it chop up the soil thoroughly. Being smaller, front tine tillers don't take up a lot of storage space.
- Choosing the right kind of tiller for your garden is an important decision.
- The tines rotate forwards, which means that the user has to constantly hold the machine back to make it chop up the soil thoroughly.
Rear Tine Tillers
Rear tine tillers are the machines used by professionals and serious gardeners. They are more expensive than front tine tillers, heavier and often have one or more forward gears, plus reverse. Some models have tines that rotate forwards, others have tines that run in the opposite direction, which are called counter rotating tines. Rear tine tillers have wheels that are driven by the engine, which means that the tines work independently of the wheels. These machines are fairly long and take up quite a bit of storage space.
How Front Tines Work
The tines of a front tine tiller have to be pushed into the soil by raising the handlebars. As the tines encounter the soil, they drag the machine forward. The user has to hold it back to get thoroughly tilled soil. This is not a problem in soil that has been worked and broken up previously, but it can require strength and effort if the soil is undisturbed sod.
- Rear tine tillers are the machines used by professionals and serious gardeners.
- The tines of a front tine tiller have to be pushed into the soil by raising the handlebars.
As the machine travels forward, if the tines grab a lump or rock the tiller will jerk forward, sometimes violently. Some models have a depth control bar that allows the user to choose the tilling depth. Some users compare using a front tine tiller with wrestling a bull by the horns.
How Rear Tines Work
The tines on a rear tine tiller are lowered into the soil to the depth chosen by the user. New ground that has not been tilled before should be tilled once with the depth control set fairly shallow. A tiller with forward rotating tines will try to buck or leap forward if it is set too deep. For tilling new, unbroken ground, a large rear tine tiller with counter rotating tines is the best choice. Because rear tine tillers are generally fairly heavy, once the depth control is correctly set, the machine quickly settles down and can be run with one hand as the user walks alongside. These tillers are usually too heavy to be lifted by one person, and sharp turns require some physical strength.
- As the machine travels forward, if the tines grab a lump or rock the tiller will jerk forward, sometimes violently.
- Because rear tine tillers are generally fairly heavy, once the depth control is correctly set, the machine quickly settles down and can be run with one hand as the user walks alongside.
Comparisons
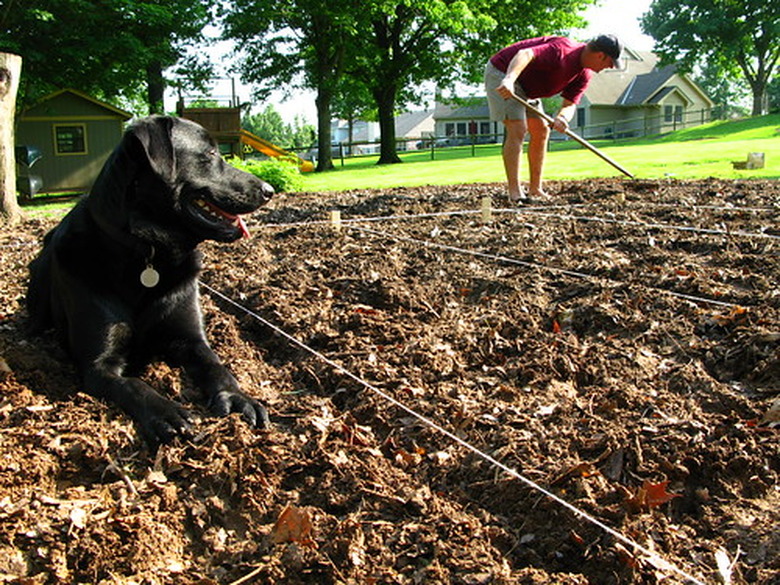
If you are starting a new garden on soil that has not been broken up, it might be worth renting a large rear tine tiller, with counter rotating tines, just to get it started. Once the soil has been thoroughly worked, you can buy a front or rear tine tiller to maintain it on a regular basis. Generally speaking, a small garden can be worked quite well with a less expensive front tine tiller, while a large garden will require less effort if you have a rear tine tiller.