How To Build A Raised Flower Bed With Stone
Raised flower beds add color and texture to landscaping, and they fix drainage problems. You can build raised beds with a variety of materials, including stone, brick and wood. Stone offers a rugged look that complements both formal and casual flower beds. Stone and stone-look products are available in cut rocks, colored stones, interlocking concrete blocks, river stones or slabs. Constructing a raised flower bed with stone doesn't require special skills, but you do need to take your time to ensure the walls are securely installed.
Things Needed
- Flour
- Hose or tape measure
- Hoe or shovel
- Gravel
- Landscape fabric
- Topsoil
- Compost
Raised flower beds add color and texture to landscaping, and they fix drainage problems. You can build raised beds with a variety of materials, including stone, brick and wood. Stone offers a rugged look that complements both formal and casual flower beds. Stone and stone-look products are available in cut rocks, colored stones, interlocking concrete blocks, river stones or slabs. Constructing a raised flower bed with stone doesn't require special skills, but you do need to take your time to ensure the walls are securely installed.
Step 1
Look at the site to determine the best dimensions for the raised flower bed. Leave enough space to walk between the bed and other elements of the landscape, such as trees and structures.
- Raised flower beds add color and texture to landscaping, and they fix drainage problems.
- You can build raised beds with a variety of materials, including stone, brick and wood.
Step 2
Measure the dimensions of your raised bed with a tape measure. Lay out a garden hose to mark the edges of a round or curved bed. Add extra width to account for the stone border. Sprinkle flour to mark the outline of the bed.
Step 3
Determine the amount of stone you need to construct the walls for your raised flower bed. For a square or rectangular bed, multiply the length, width and height to figure the footage the wall must cover.
Step 4
Remove weeds, grass, rocks and root systems from the site of the flower bed, using a hoe or shovel. Dig a trench about 6 inches deep where the stone wall will be installed.
- Measure the dimensions of your raised bed with a tape measure.
- Sprinkle flour to mark the outline of the bed.
Step 5
Spread gravel along the bottom of the trench. The bottom stones of the wall must be partially buried to form a secure foundation. Place one of your stones in the trench, then step back to see that it's at the correct height. Add more gravel to raise the trench if necessary.
Step 6
Place the largest, flattest stones end to end in the trench until you complete the first layer. Use a level to check that the stones are relatively even. Pack gravel behind and between the stones.
- Spread gravel along the bottom of the trench.
- Add more gravel to raise the trench if necessary.
Step 7
Add your next layer, staggering each stone so that the joints of the next layer fall in between two stones beneath. Continue to pack gravel between the stones. Add the next layer to your wall until you reach the desired height for your flower bed.
Step 8
Use cap stones for the top of your wall. If you're dry stacking flat stones, line the top with flat, medium-sized stones, and edge small stones between any gaps.
Step 9
Line the interior walls of the flower bed with landscape fabric to prevent weeds from growing through the stones.
Step 10
Layer the bottom with gravel or sand if drainage is a problem. Fill the flower bed with a mix of topsoil and garden compost. Tuck the fabric into the dirt so it doesn't show.
- Add your next layer, staggering each stone so that the joints of the next layer fall in between two stones beneath.
- Use cap stones for the top of your wall.
Step 11
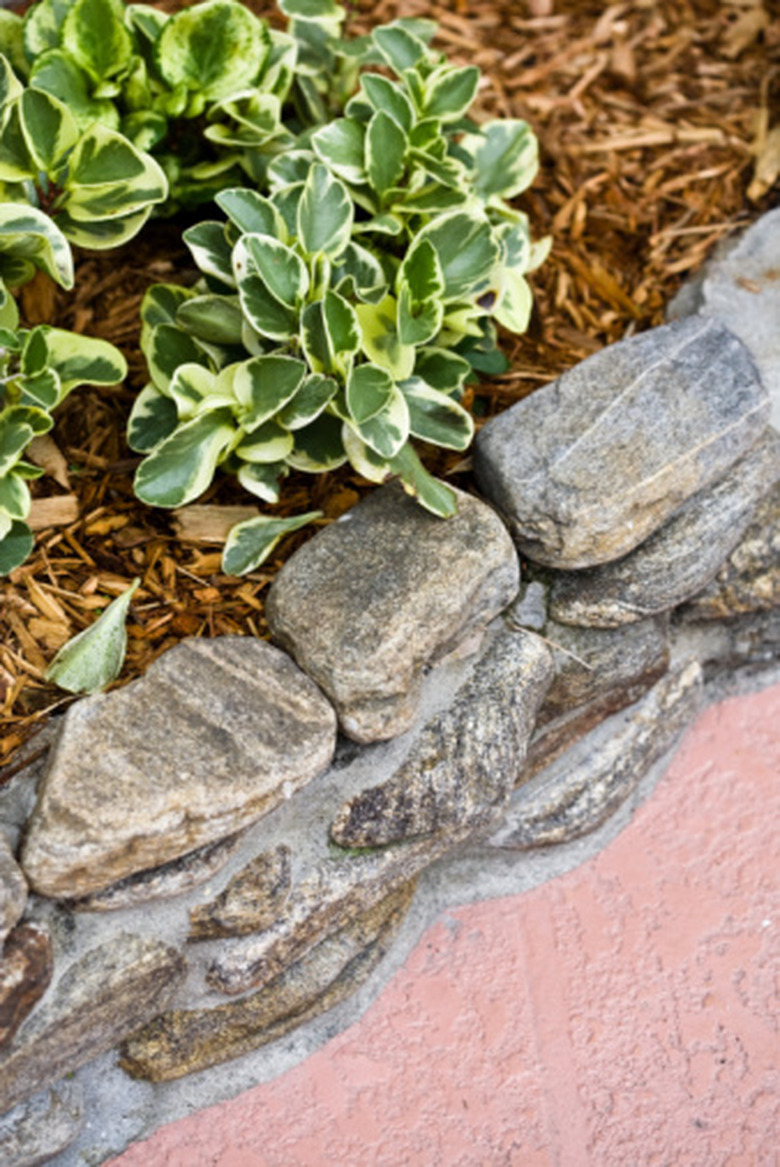
Plant your flowers and add a 1 inch layer of mulch to preserve moisture and keep weeds from growing.
Warning
Refer to the stone supplier's instructions for the recommended maximum wall height.