Malibu Light Instructions
Malibu lights, or low-voltage landscape lights, run on 12-volt AC (alternating current). The transformer steps the 120-volt AC current from the electrical outlet down to the safe 12-volt current. Because of the low voltage running through the cable, no waterproof connections are required. The minimal current running your Malibu lights is not affected by your sprinkler system. Installing Malibu lights can enhance the beauty of your property or garden, as well as provide safety and security along driveways and walkways.
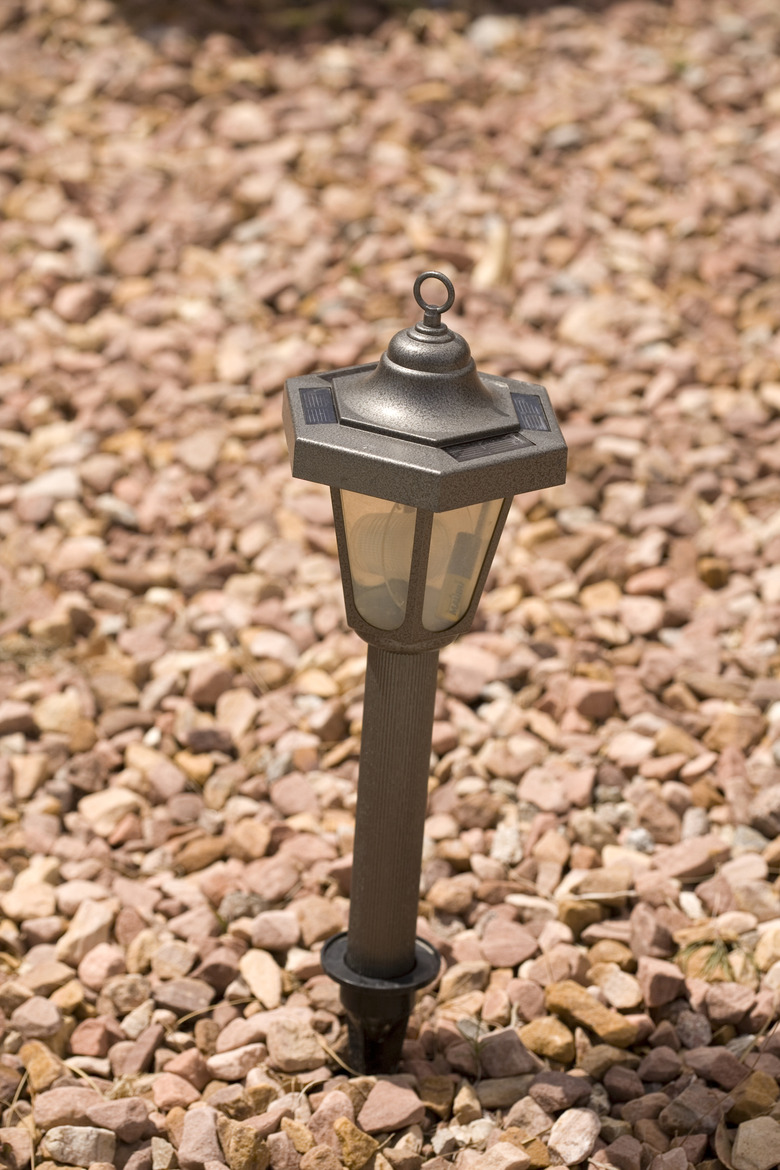
Step 1
Assemble your Malibu light fixtures. Depending on the style you chose, you may need to assemble the entire fixture. Some metal Malibu light fixtures only require you to screw the metal stake to the bottom of the fixture. Some of the less-expensive plastic Malibu fixtures require complete assembly.
Step 2
Thread the wire connectors through the neck of the plastic Malibu light fixture and push them into the bulb socket. Push the plastic neck of the fixture onto the fixture base and push the stake into the plastic neck. Install the light bulb, slip the shade over the bulb and snap the cover onto the fixture.
Step 3
- Assemble your Malibu light fixtures.
- Install the light bulb, slip the shade over the bulb and snap the cover onto the fixture.
Step 4
Position the Malibu light fixtures in your garden, along your walkway or driveway. Move the lights around until you are satisfied with their final placement.
Step 5
Run the low-voltage Malibu cable across the ground and from light fixture to light fixture. Place the black connector from your Malibu light fixture over one side of the cable and the gray connector from the fixture over the other. Push the two connectors together until they "snap" over the cable, causing the sharp copper spikes inside each connector to penetrate the low-voltage cable.
Step 6
Dig a shallow (1-to-2-inch-deep) trench along the path of your low-voltage cable. Cover the cable with dirt and mulch to hide it.
Step 7
- Position the Malibu light fixtures in your garden, along your walkway or driveway.
- Run the low-voltage Malibu cable across the ground and from light fixture to light fixture.
Step 8
Slice apart the two wires at the low-voltage Malibu cable through the membrane of the insulation that holds the two wires together, using a utility knife. Grasp one wire in each hand and pull them apart, stopping once you reach a length of 2 inches of separated cable. Use a wire cutter/stripper to remove 1/2 inch of insulation off each wire.
Step 9
Wrap one wire around terminal screw "A" on the back of the transformer/timer. Wrap the remaining wire around the "B" terminal screw, tightening both screws to secure the cable to the transformer.
Step 10
Mount the transformer/timer on an exterior wall of your house near an outdoor receptacle. Use a wood or masonry screw drilled into the wall to hang the transformer. Plug the transformer into an exterior wall receptacle.
Step 11
- Slice apart the two wires at the low-voltage Malibu cable through the membrane of the insulation that holds the two wires together, using a utility knife.
- Use a wood or masonry screw drilled into the wall to hang the transformer.
Step 12
Set the on and off times on the Malibu transformer/timer. Insert a green pin over the a.m. number, representing the time at which you would like the lights to come on in the mornings and insert the remaining green pin over the p.m. time you would like the lights to come on in the evenings. Insert the red pins over the a.m. and p.m. times you would like the lights to turn off.