How To Transplant Calla Lilies
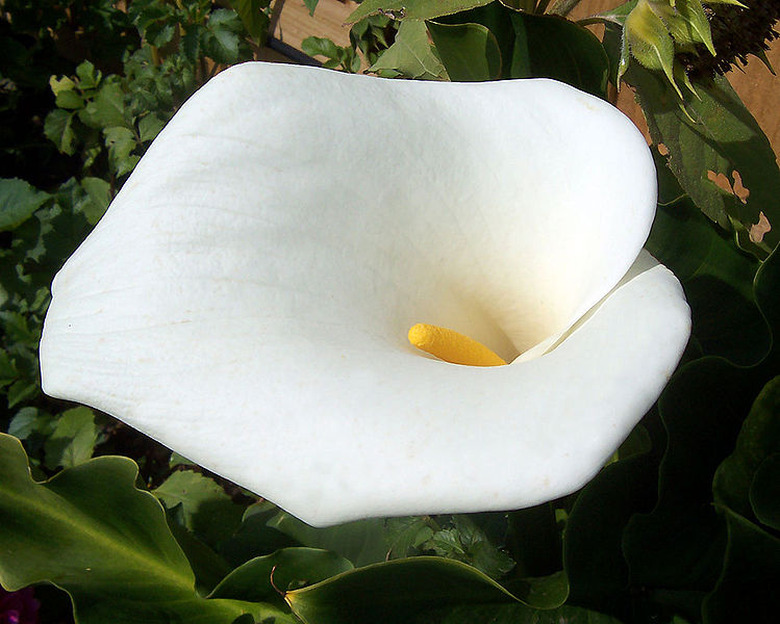
Calla lilies are perennial plants that thrive in shade and moist soil and grow up from an underground bulb that blooms in the summer. Calla blooms are creamy white and are grown in bed, borders, containers and naturalized in shade or woodland gardens. They are hardy in USDA zones 9 to 11 and the bulbs can safely be dug and stored over winter in cooler climates. Calla bulbs and plants can be transplanted in the spring or early fall, depending on your climate.
Step 1
Transplant an actively growing calla lily plant anytime of the year in climates where the plant is hardy. For late-summer or fall transplanting in climates where calla lilies cannot overwinter in the ground, store your calla lily as a houseplant or in a temperature-controlled greenhouse until outdoor temperatures warm in the spring and the last frost has passed.
Step 2
Gently slide the root ball from its present location, taking as much soil around the bulb and roots as possible. Till up and loosen the soil in the new planting site. Set the plant down into a freshly dug hole that is at least twice the diameter of the root ball. Keep the soil level on the stem consistent from the old planting location to the new.
- Calla lilies are perennial plants that thrive in shade and moist soil and grow up from an underground bulb that blooms in the summer.
- Transplant an actively growing calla lily plant anytime of the year in climates where the plant is hardy.
Step 3
Fill in the displaced soil around the plant and tamp down lightly with your palm to secure the plant and collapse any air pockets filling in more soil as needed.
Step 4
Water the plant so the soil is saturated. Mulch around the base of the plant with shredded bark, compost or cocoa hulls to hold in moisture. Keep the soil consistently very moist throughout the growing season.
Transplant Calla
Loosen the soil around the perimeter of the calla root with a trowel, taking care not to break the yellow buds from the rhizome. Slide the trowel beneath the rhizome and lift it out of the soil. Examine the rhizomes, and divide them if they are stacked in layers on top of each other. Cut apart and separate the layers into individual sections. Dispose of any rhizome sections that don't have yellow buds. Spread 2 inches of mulch over the soil surface to help conserve soil moisture.
- Fill in the displaced soil around the plant and tamp down lightly with your palm to secure the plant and collapse any air pockets filling in more soil as needed.
- Loosen the soil around the perimeter of the calla root with a trowel, taking care not to break the yellow buds from the rhizome.
Things Needed
- Calla bulbs
- Hand trowel
- Nutrient-rich soil
- Water
- Organic mulch material
- Bulb fertilizer