Homemade Aphid Insecticide
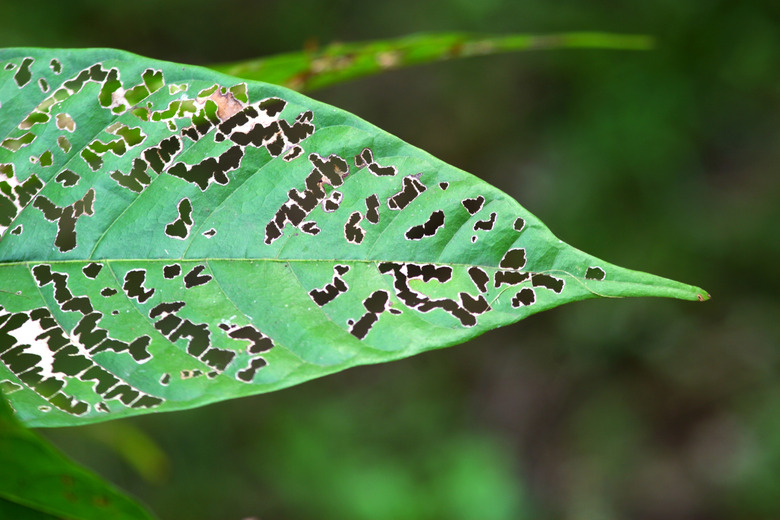
An aphid is a small green insect that feeds on sap from plants. It is also referred to as plant lice. Aphids collect on the undersides of leaves and cause leaves to wilt or yellow. An aphid will often lay eggs on a plant that will produce 40 to 60 larvae. There are several home remedies that will eliminate aphids.
Step 1
A spray made from common household items will smother the aphids after just a few treatments. Combine a cup of vegetable oil or white mineral oil with 1.5 cups water and two teaspoons of dish soap. Pour the mixture into a spray bottle and spray on aphid infested areas every other day until no sign of aphids is found. It is important to shade the plants during treatment to avoid direct sunlight. The oil in the spray will cause burning of the leaves if exposed to bright light. An alternative to this recipe is to use Murphys oil soap in place of the dish soap.
Nettle Spray
Step 1
A spray that is made using a tea made from stinging nettles will deter new aphids and cause existing aphids to find a new home. Cover one quart of stinging nettles with water and cover the container tightly. Allow this mixture to steep for three days. Combine one part nettle tea with seven parts of water and spray the plants thoroughly with the mixture. Continue this treatment every few days until all signs of aphids are gone.
Step 2
- A spray made from common household items will smother the aphids after just a few treatments.
- The oil in the spray will cause burning of the leaves if exposed to bright light.
Eucalyptus
Step 1
Eucalyptus is a natural deterrent for aphids and will cause them to leave rather than killing them. Pour eucalyptus oil into a spray bottle and spray it onto leaves and flowers. Be sure to spray the underside of the leaves thoroughly as this is where aphids like to hide. Repeat this treatment twice a month until aphids are no longer attracted to the plants.
Garlic Spray
Step 1
Garlic is another natural insect repellent that works well on aphids. Place one full bulb of garlic in a blender with two cups of water. Blend well until the garlic is completely pureed and mixed well with the water. Pour the mixture into an airtight container and allow it to steep for 24 hours. Strain the liquid to remove any pulp and add to a gallon of water. Spray the leaves of the plant thoroughly once a week or sooner if it rains. Continue the treatment until all signs of infestation are gone.
Step 2
- Eucalyptus is a natural deterrent for aphids and will cause them to leave rather than killing them.
- Be sure to spray the underside of the leaves thoroughly as this is where aphids like to hide.