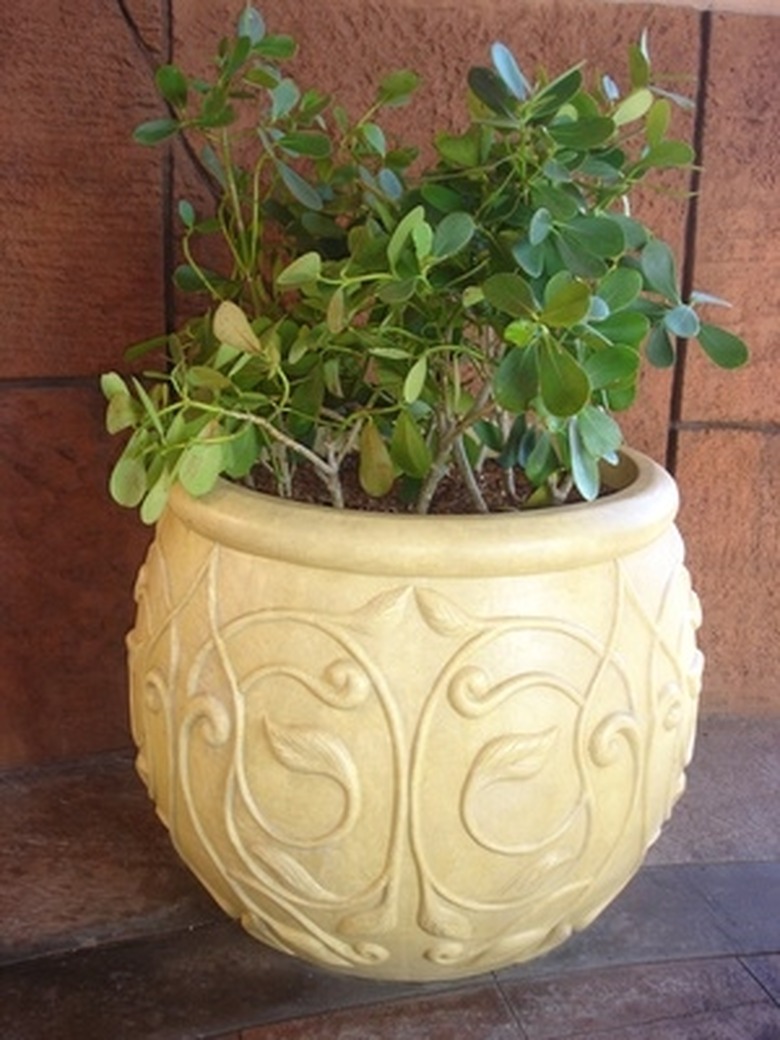
Potted Flowers
Step 1
How to Care for Potted Roses in Winter
Step 1
Potted roses have many advantages. Their containers can be moved from place to place to be enjoyed where you want. They also can be rotated around to receive evenly-distributed amounts of light. While potted roses can be brought in during the cold winter months, some care is still needed for them to thrive to their greatest potential.
Step 1
Bring potted roses indoors in the fall, before the first frost. While roses planted in the ground can survive most winters, potted roses do not have the insulation to keep their roots warm. Place the roses near a sunny window. Alternatively, wrap the bottom of the container with a blanket and add several inches of mulch in areas with mild winters. The roses will go dormant like outdoor roses. Bring them indoors to a cool location, such as a garage, if you have a colder than usual winter so they can continue their dormancy without damage.
- Potted roses have many advantages.
- Bring them indoors to a cool location, such as a garage, if you have a colder than usual winter so they can continue their dormancy without damage.
Step 2
Continue to keep your indoor roses moist to enjoy their foliage all winter long. Fertilize them monthly with a rose fertilizer and follow the label instructions.
Step 3
Cut back damaged or diseased branches as well as suckers that grow near the base of the trunk. Roses brought indoors are like roses grown in subtropical climates in that they need pruning twice a year (August and March). In March, prune your roses (indoors and outdoors). Generally, you should prune roses back to about half their size. Thin out the bush as well to encourage better light in the center of the plant.
- Continue to keep your indoor roses moist to enjoy their foliage all winter long.
- Roses brought indoors are like roses grown in subtropical climates in that they need pruning twice a year (August and March).
Step 1
Add water-retaining granules, discs or spikes to the plant's potting soil. These products hold onto water, then release it as the soil dries. When you mix them with the potting soil, they will help keep the soil more consistently moist. Most garden stores sell these water-retaining soil amendments.
Step 2
Place the plant pot (if the pot contains drainage holes at the bottom) on a saucer or plate covered with water. This allows plant roots access to moisture from the bottom of the pot.
Step 3
Place sphagnum moss or wood chips on top of the soil. Doing this helps slows water evaporation from potting soil.
- Add water-retaining granules, discs or spikes to the plant's potting soil.
Step 4
Move the plant away from direct sunlight and other heat sources (such as indoor furnaces or stoves). The sun's burning rays will dry out plants quickly, as will being too close to heat sources.
Step 1
Stop fertilizing the rose bush after August 15.
Step 2
Discontinue cutting flowers and deadheading after October 1. Allow the rose plant to produce rose hips.
Step 3
Remove all the leaves and hips from the rose after the first hard frost. Clean up any debris, such as twigs and fallen leaves, in the pot.
- Move the plant away from direct sunlight and other heat sources (such as indoor furnaces or stoves).
- Clean up any debris, such as twigs and fallen leaves, in the pot.
Step 4
Prune the rose to remove damaged wood, branches that cross over others, and overly long canes.
Step 5
Spray the branches of the rose with a fungicide, according to label directions.
Step 6
Wrap the rose tree lightly. There are several methods that work well. If the rose is small enough, place a tomato cage over it and stuff leaves over and around it. The National Gardening Association suggests placing the potted rose in a burlap bag and stuffing the bag with leaves. The association also cautions against wrapping the rose too tightly, as it needs air circulation to avoid fungal disease.
- Prune the rose to remove damaged wood, branches that cross over others, and overly long canes.
Step 7
Place the potted rose in an area where temperatures will not drop below 20 degrees F, such as in a shed, garage or basement. Place the pot off the floor–on a table, for instance–where the air is warmer.
?
Step 1
Pot the evergreen in the proper soil. Soil should be supportive of the trunk and provide a stable environment. Provide a 3-to-1 ratio mixture of peat and sand in the soil.
Step 2
Maintain a cool environment. Pines will enjoy a bright and cool location, with only a few hours of direct sunlight each day. Turn the planter weekly to prevent tilting if sunlight is only available from one direction.
- Place the potted rose in an area where temperatures will not drop below 20 degrees F, such as in a shed, garage or basement.
- Provide a 3-to-1 ratio mixture of peat and sand in the soil.
Step 3
Fertilize the soil with an indoor foliage plant fertilizer when the plant is growing. Follow the instructions on the package for proper dosage. Only feed when the plant is actively growing, not in dormant winter months.
Step 4
Water the plant well and often. Apply water to the pot when the top 1 inch of soil has become dry. Pour water through the pot until the excess drains from the bottom of the pot.
Step 5
Provide humidity indoors for the plant. Pines require 50 percent humidity, which is hard to achieve indoors. Run a humidifier indoors in winter months to maintain the tree's comfort.
- Fertilize the soil with an indoor foliage plant fertilizer when the plant is growing.
- Apply water to the pot when the top 1 inch of soil has become dry.

Step 1
Remove all plants that are in clay, terra-cotta or stone pots and place them, along with the soil, into a plastic pot. Stone and clay pots crack in cold weather, so store them inside for the winter.
Step 2
Walk around the yard and locate a clear area of ground on the north side of a house or building. If possible, find an area that receives direct winter sun.
Step 3
Move the potted plants to the chosen area, setting them all in a cluster as close together as possible. The top rims of the plant pots should touch each other and the back row of pots should touch the wall.
Step 4
Rake up the leaves from your yard or ask a neighbor if you can have their discarded leaves. Pour the leaves on the ground and chop them up by running a lawn mower over them three to four times.
Step 5
- Remove all plants that are in clay, terra-cotta or stone pots and place them, along with the soil, into a plastic pot.
- Rake up the leaves from your yard or ask a neighbor if you can have their discarded leaves.
Step 6
Scoop up the chopped leaves with a shovel and pile them on top of the area where the potted plants are located. Continue adding leaves until you can no longer see the pots and there is 12 inches of leaves on top of the pots.
Step 7
Water the area with a garden hose once a week if no rainfall or snow occurs.
Step 1
Put on a thick pair of gardening gloves to protect your hands from thorns.
Step 2
Remove any dead wood from your potted rose with a pair of sharp pruning shears. Maintaining dead wood utilizes your plant's growth resources.
Step 3
Clip leaders that cross or are beginning to grow downward. Leaders are another term for stem. Leaders, or stems, that cross can rub against each other, causing damage to bark and creating a way for disease to enter your rose. Downward growing leaders can create an unbalanced look to the rose and could rub against the pot, creating similar problems to crossed leaders.
- Scoop up the chopped leaves with a shovel and pile them on top of the area where the potted plants are located.
Step 4
Prune away as much as two-thirds of the previous year's growth. Most roses bloom only on the current year's growth, making woody growth from previous years superfluous.
Step 5
Thin your potted rose to allow sun to reach inside leaves and growth. Prune your rose from the bottom up and from the inside out, much as you would prune a tree.
Things Needed
- Potted rose
- Garden gloves
- Sharp pruning shears
Potted plants with proper drainage can take a fair amount of water, but if rain continues for more than a few days, move pots into covered areas to prevent rot.
Step 1
Fill a tub with a solution of water and insecticidal soap. Make the solution a ratio of 2 tbsp. of insecticidal soap for every quart of water.
Step 2
- Prune away as much as two-thirds of the previous year's growth.
- Potted plants with proper drainage can take a fair amount of water, but if rain continues for more than a few days, move pots into covered areas to prevent rot.
Step 3
Place the plant in the tub so the solution covers the top of the soil by an inch.
Step 4
Allow the plant to soak in the solution for at least 20 minutes.
Step 5
Remove the plant, and set it in sunshine to allow the soil to start drying out.
Step 6
Allow the plant to remain in a sunny location 24 to 48 hours to help the soil dry before you move the plant back to its previous location.
Step 7
Wrap a strong weatherproof tape around the pot with the sticky side facing out. Duct tape or packing tape work well for this. Ants will not be able to cross the tape to get back up into the plant. Replace the tape as needed when it becomes full of stuck ants or loses its adhesiveness.
Step 8
- Place the plant in the tub so the solution covers the top of the soil by an inch.
- Wrap a strong weatherproof tape around the pot with the sticky side facing out.
Step 1
Turn on the water faucet and adjust the water to room temperature. Cold or hot water extremes shock the potted plant's root system.
Step 2
Tilt the potted plant at a 45-degree angle and place the base of plant under the running water. The objective is to water the potting soil and not drench the leaves and blooms of the plant.
Step 3
Remove the potted plant from the water source when a stream of water flows out of the drainage holes. Turn off the water source.
Step 4
Sit the potted plant in the base of the sink. Set a timer for one hour. The plant needs sufficient time to drain and leach. One hour is the time recommended by the N.C. State University Extension.
- Turn on the water faucet and adjust the water to room temperature.
- Remove the potted plant from the water source when a stream of water flows out of the drainage holes.
Step 5
Remove the potted plant from the sink. Repeat steps 1 through 4. Return the plant to its original location.
Tip
Use a slow trickle of water instead of full pressure to minimize the risk of damaging potted plant roots. Place a strainer or fabric in the sink to avoid potting soil flowing into the primary sink drain pipe.
Warning
Never use extreme water temperatures when leaching potted plants.
Step 1
Choose containers appropriate for the size of your palms, usually a 25-gallon size for large plams and 10- to 15-gallon sizes for the dwarf varieties
Step 2
Fill a pot with a mixture of 25 percent sand, 25 percent peat moss and the rest with potting soil to provide adequate drainage and nutrients.
Step 3
Mist your palm daily to increase humidity as well as keep dust and insects away. If you do not have a mister, place a shallow pan of water near your palm to allow for evaporation and high air humidity.
- Remove the potted plant from the sink.
- Choose containers appropriate for the size of your palms, usually a 25-gallon size for large plams and 10- to 15-gallon sizes for the dwarf varieties Fill a pot with a mixture of 25 percent sand, 25 percent peat moss and the rest with potting soil to provide adequate drainage and nutrients.
Step 4
Keep the palms in at least eight hours of sunlight per day, rotating them regularly to ensure that all sides receive equal sun exposure.
Step 5
Water the plant until water runs out of the bottom of the pot, and allow the top inch of soil to dry before watering again.
Step 6
Fertilize your palm twice a year with slow-release formula especially designed for palms, following the exact directions on the label.
Tip
Protect palms from cold weather by bringing them indoors at the first sign of freezing temperatures. Transfer your palms to a larger pot when the roots begin to grow at the surface of the soil and water takes several minutes to soak in.
Warning
Do not nail signs or lights to the trunks of palms because puncture wounds in palm trees never heal.
Things Needed
- Perlite
- Spray bottle
- Fertilizer
Step 1
Select a rose that grows well in the container you have space for. Small roses, such as the miniature varieties, grow well in half-gallon containers, while larger roses need a much larger container to grow well.
Step 2
Fertilize the potted rose with indoor plant food, according to package directions.
Step 3
Water the rose frequently to keep the soil moist but not soaked. The soil should be moist to the touch. If the soil stays wet, the chances of fungal growth are increased.
- Keep the palms in at least eight hours of sunlight per day, rotating them regularly to ensure that all sides receive equal sun exposure.
- Fertilize your palm twice a year with slow-release formula especially designed for palms, following the exact directions on the label.
Step 4
Prune away any dead or dying foliage using very sharp pruning shears. Make your cut where the dead or dying foliage joins the main shoot of the rose. By using sharp pruning shears, you avoid damaging the healthy portions of the plant, as you would with dull shears.
Step 5
Treat any pests, such as aphids, by filling a spray bottle with 3 parts water and 1 part dish soap. Lightly mist the rose with this mixture until the pests have subsided. The soapy water mixture will not harm the rose and will treat many pests.

Types
Step 1
Deer usually avoid urban city centers, but may dig for shoots in flower pots in city outskirts and more rural areas. Neighborhood cats with free reign will dig into flower pots and use them as a restroom. Less common diggers include skunks, groundhogs, rabbits and dogs.
Step 2
- Prune away any dead or dying foliage using very sharp pruning shears.
- By using sharp pruning shears, you avoid damaging the healthy portions of the plant, as you would with dull shears.
Squirrels
Step 1
Squirrels will go after flower bulbs in pots, or dig them up to bury their own seeds. They are also drawn to freshly turned dirt, and will sometimes dig in flower pots just to see if there's something to eat there.
Prevention/Solution
Step 1
The most thorough prevention method is to surround the property with sturdy fences. This will shut out deer, rabbits, dogs and some small animals. Squirrels can be repelled by dried blood meal sprinkled around bulbs. Cats will not go near flower pots that have been sprayed with a solution of water and garlic.
Step 1
Rinse the inside of the pots to remove any dust or residue. If the pots have been used previously, wash them in soapy water and scrub the insides with a stiff wire brush. Rinse well to remove all soap residue. Set them upside down on a rack and allow to dry for two to four hours.
- Squirrels will go after flower bulbs in pots, or dig them up to bury their own seeds.
- If the pots have been used previously, wash them in soapy water and scrub the insides with a stiff wire brush.
Step 2
Paint the inside of the pots with the polyurethane or terracotta pot sealer, using a sponge-type paint brush. Completely cover the interior.
Step 3
Set the pots, right side up, on a shelf or rack to allow the sealer to dry. The time will vary with the sealer used, but should take approximately two to three hours.
Step 4
Apply one or two more coats, allowing ample drying time between coats.
Tip
Oil-based polyurethane lasts longer than water-based polyurethane.
Warning
Because of the potential for lung injury from fumes, use oil-based polyurethane only in a well-ventilated area.
Step 1
Place the edge of a roll of bubble wrap against the pot and wrap it all the way around it twice to create an insulation barrier. Cut off the excess bubble wrap with scissors.
- Paint the inside of the pots with the polyurethane or terracotta pot sealer, using a sponge-type paint brush.
- Set the pots, right side up, on a shelf or rack to allow the sealer to dry.
Step 2
Wrap masking tape all the way around the bubble wrap at the top and the bottom of the pot to hold the wrap in place.
Step 3
Look for a location near a fence, wall or the side of a building that is protected from wind.
Step 4
Set all of the insulated pots in this location, placing them as close to each other as possible.
Step 5
Lay a tarp on top of the pots and secure three of the corners to the ground using tent stakes. Leave the fourth corner free to allow for air circulation.
Tip
You can also use Styrofoam, newspaper or leaves to insulate outdoor pots.
Warning
Certain types of pots, such as terra-cotta pots, do not winterize well and should be emptied and stored for winter. Types of pots to consider for overwintering include plastic, stone, fiberglass and wood pots.
Step 1
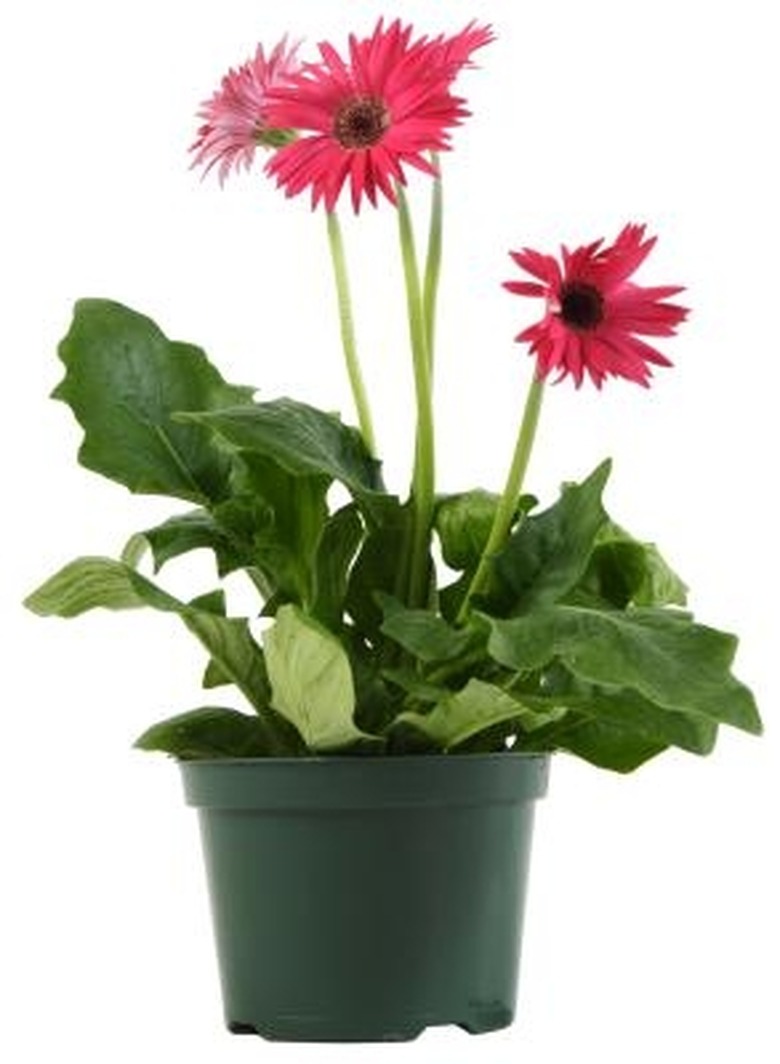
Select a pot for the flower. The size depends upon the mature size of the plant; begin with one that is 15 inches across. You can transplant it to a larger pot later. Choose a pot with adequate drainage holes, and include a saucer that fits under the pot.
- Wrap masking tape all the way around the bubble wrap at the top and the bottom of the pot to hold the wrap in place.
- Lay a tarp on top of the pots and secure three of the corners to the ground using tent stakes.
Step 2
Mix equal amounts of sterile potting soil and peat moss. Fill the pot half full with the mix.
Step 3
Remove the flower from the nursery container and place it in the center of the pot, being careful not to damage the root ball. Add potting mix around the root ball of the flower and gently tamp it down.
Step 4
Put the saucer under the pot and place the container in the appropriate amount of sunlight–depending on the flower variety. Water thoroughly until water runs through the drainage holes.
Step 5
Keep the soil moist, but not wet, until the flower shows signs of new growth. Then, reduce the water to the proper amount for the flower.
- Mix equal amounts of sterile potting soil and peat moss.
- Put the saucer under the pot and place the container in the appropriate amount of sunlight–depending on the flower variety.
Step 6
Fertilize the flower, if necessary, using a fertilizer that's formulated for flowerpots. Use a fungicide and pesticide for any potential problems unique to the flower.
History
Clay pots appeared on the scene around 6000 B.C. at the genesis of the Neolithic period. The invention of plastic occurred about 100 years ago. Plastic pots, mere infants in time, now rest on the shelves of retail establishments next to the familiar terracotta pot.
Clay
The porous clay pot breathes, thereby letting air circulate throughout the roots of the plant. It also absorbs moisture, which gets rid of excess water in the soil — an advantage for some plants. Along those same lines, soaking the clay pot in water can serve as a way to keep plants watered while on vacation.
- Fertilize the flower, if necessary, using a fertilizer that's formulated for flowerpots.
Plastic
Plastic pots prevent oxygen and water from entering the pot to nourish the roots of your plant. They also prevent excess water from escaping, which can cause root rot. In addition, plastic provides no insulation from extreme temperature changes.

Colored plant pots affect growth due to the attraction of sunlight. Darker-colored pots absorb more heat from the sun. The intense heat affects plant growth by causing fast evaporation of moisture and increased soil temperature levels that damage plant roots and foliage.
Step 1
Squeeze 4 to 6 drops of dish soap into a bucket.
- Plastic pots prevent oxygen and water from entering the pot to nourish the roots of your plant.
Step 2
Fill the bucket three-quarters full with water.
Step 3
Empty the pot of dirt, plants or anything else inside of it.
Step 4
Completely submerge the flower pot in the bucket.
Step 5
Dip the scrub brush in the water. Scrub the flower pot clean.
Step 6
Remove the pots. Dump the soapy water out. Rinse out the bucket out with water.
- Fill the bucket three-quarters full with water.
- Dip the scrub brush in the water.
Step 7
Fill the bucket with water. Submerge the buckets. Leave the flower pots sit in the water for at least an hour, according to gardenguides.com.
Step 8
Remove the pots. Set them out in the sun to dry. Dump the water out of the bucket.
Step 1
Fill a sink with hot, soapy tap water. Submerge the flower pots in the water and wash off any stuck-on soil with a nylon brush.
- Fill the bucket with water.
- Dump the water out of the bucket.
Step 2
Mix 1 part chlorine bleach with 9 parts water. Soak the flower pots in this solution for two to three hours.
Step 3
Rinse the chlorine bleach solution off plastic pots with clear, running water. For clay pots, fill the sink with clear water and soak the pots for an additional three hours. The bleach permeates the pores in clay pots, and so must be soaked out.
Step 4
Set the pots in a well-ventilated room and allow them to air dry completely before planting.
Tip
Wooden pots should be sterilized the same way that you clean clay pots. Store sterilized pots in a clean, sealed garbage bag until you are ready to use them so they do not become reinfected.
Warning
Only use sterile potting soil in the flower pots, or disease organisms will be reintroduced.
Step 1
Fill your bathtub up with 10 to 20 gallons of hot water. Use 10 gallons if you only have a few pots to clean and 20 if you have more pots to clean.
- Mix 1 part chlorine bleach with 9 parts water.
- Soak the flower pots in this solution for two to three hours.
Step 2
Add 1 gallon of bleach to water for every 10 gallons of water that you use–1 gallon of bleach for 10 gallons of water, 2 gallons of bleach for 20 gallons of water.
Step 3
Set your pots in the bleach water, and let them soak for a few minutes.
Step 4
Scrub the dirt off of the pots with a soft-bristle brush. After the pots have soaked, this should be quite easy.
Step 5
Drain the bathtub, and rinse each pot with warm running water. Set the pots outside in the sun to dry.
Tip
Hydrogen peroxide can be used in place of bleach. If your pots are small, you can set them in your dish drainer to dry.

Step 1
Select an attractive ceramic, clay or wooden container. Pots with a diameter of 10 to 12 inches work nicely. That's big enough for 8 to 12 tulips or daffodils.
Step 2
- Add 1 gallon of bleach to water for every 10 gallons of water that you use–1 gallon of bleach for 10 gallons of water, 2 gallons of bleach for 20 gallons of water.
- Set your pots in the bleach water, and let them soak for a few minutes.
Step 3
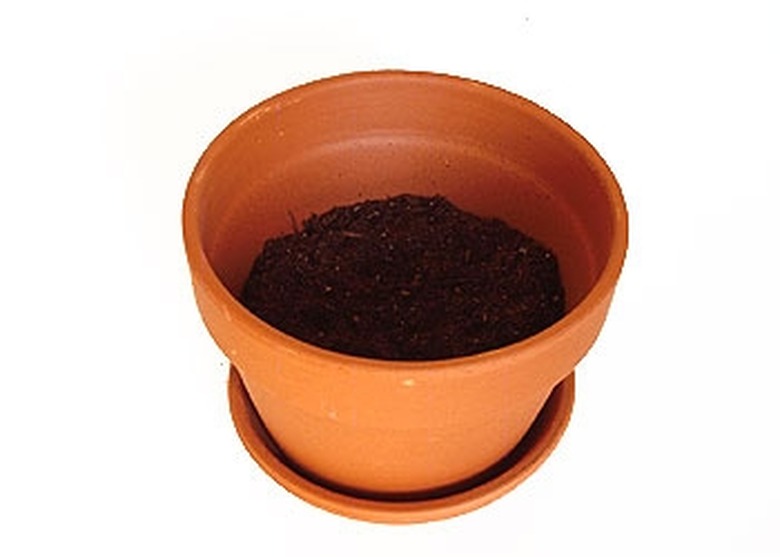
Fill the pot with enough quality potting soil so that bulbs placed on top can be covered with enough soil to bury them at the proper planting depth (at least an inch or more).
Step 4
Mix some slow-release bulb fertilizer into the top of the potting soil.
Step 5
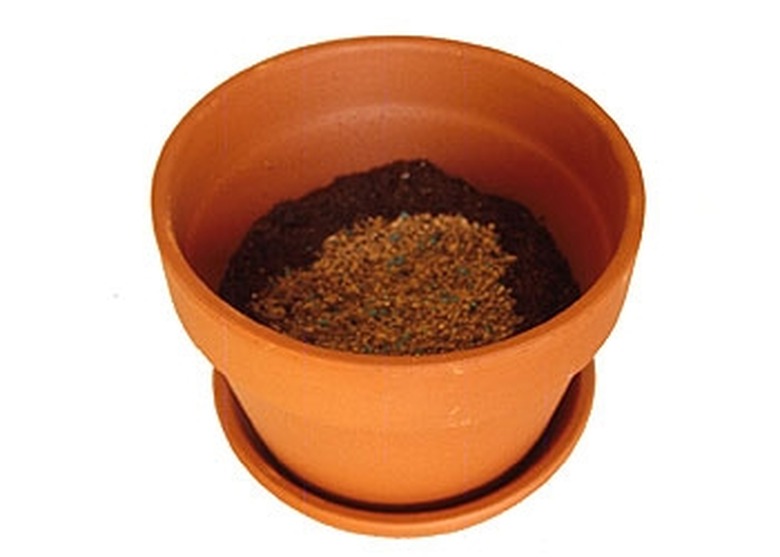
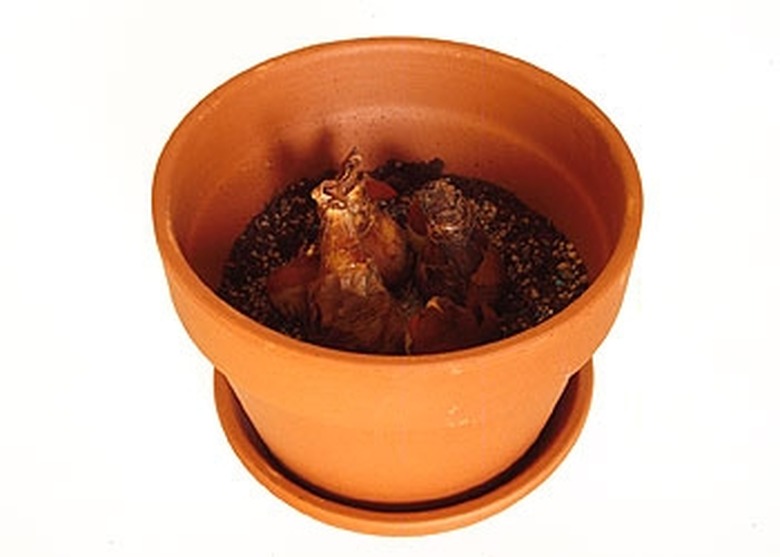
Set the bulbs on top of the soil in the pot. The closer together they are, the more flowers you'll get at bloom time.
Step 6
Fill the pot with soil to within an inch of the top.

Step 7
Water thoroughly.
Step 8
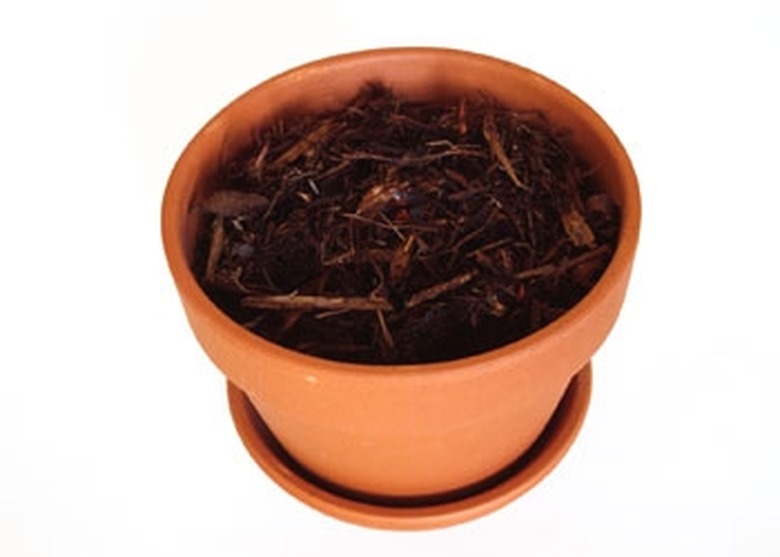
Place the pots in a cool spot and cover with several inches of mulch. Check the pots often and water if necessary through winter.
Step 9
- Fill the pot with enough quality potting soil so that bulbs placed on top can be covered with enough soil to bury them at the proper planting depth (at least an inch or more).
- Place the pots in a cool spot and cover with several inches of mulch.
Step 10
Move the pots to a sunny location when you see the first signs of growth.
Step 11
Keep the pots moist until after bloom.
Step 12
Fertilize every two to four weeks with a liquid plant food. Follow label instructions.
Step 13
Move the pots to an out-of-the-way spot after bloom. Keep moist until foliage dries.
Step 14
Plant the bulbs in the garden next fall. They may or may not bloom.

Step 15
- Move the pots to a sunny location when you see the first signs of growth.
- Keep the pots moist until after bloom.