How To Seal Garden Pots
Things Needed
- Clay pot
- Stiff brush
- Acrylic paint (optional)
- Paint brushes (optional)
- Clear polyurethane sealer
Some garden pots are already sealed, or need no sealing, when you purchase them. Plastic garden pots do not breath as clay pots do. Therefore, they need no sealing. Ceramic pots are hardened with a glaze when heated in a kiln. This glaze seals the ceramic pot. Clay pots (terra cotta), however, are not sealed most times. They certainly may be used as a planter without the use of a sealer, but the plant will require extra watering. Clay pots are porous, which allows a certain amount of air to penetrate the clay and into the soil. In turn, the clay also sucks the water from the soil. A sealed clay pot will give you the same benefit as a plastic or glazed ceramic garden pot, less watering.
- Some garden pots are already sealed, or need no sealing, when you purchase them.
- Clay pots are porous, which allows a certain amount of air to penetrate the clay and into the soil.
Step 1
Clean your clay garden pot thoroughly, using soap and water. If the pot has been previously used, clean the inside with a stiff brush. This will assure that any plant disease or fungus is removed. Allow the pot to dry completely.
Step 2
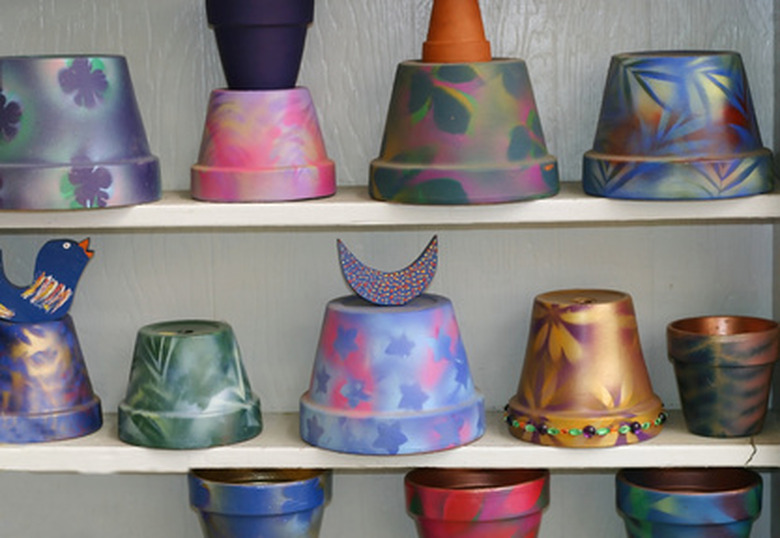
Paint your pot if you wish it to be more decorative before applying a sealant. Give the pot a couple of coats of acrylic paint (found at the craft store). You may paint just the outside or the inside. Mark out a design on the base coat. Paint the design with different colors of acrylic paints. Let the pot dry overnight.
- Clean your clay garden pot thoroughly, using soap and water.
- Paint your pot if you wish it to be more decorative before applying a sealant.
Step 3
Spray a coat of clear polyurethane sealer on the inside and outside of the garden pot. Complete this step on a painted pot as well as an unpainted pot. When the polyurethane is dry to the touch you may spray on another coat. Let the pot dry and cure overnight. Now you are ready to plant in your sealed garden pot.
Tip
If you aren't artistic, use stencils to make a design on your clay pot. Mark off stripes with masking tape and paint between them for a nice effect. You can also use decals, paint markers or rubber stamps for the design. Glue on buttons or dried flowers, before spraying on the clear sealant. You can make birdbaths and bird feeders with sealed clay pots, as well as planters.