How To Transplant Daffodil Bulbs
Things Needed
- Garden markers
- Spade
- Compost
- Mulch
Tip
Sprinkle bulb fertilizer into the planting holes, then place a layer of soil on top the fertilizer before replanting. This helps encourage healthy root growth before the fall frost. Remember that shady areas under deciduous trees and shrubs will be in full sunlight in early spring before the new leaves grow in.
Warning
Avoid overwatering, which will cause the bulbs to rot.
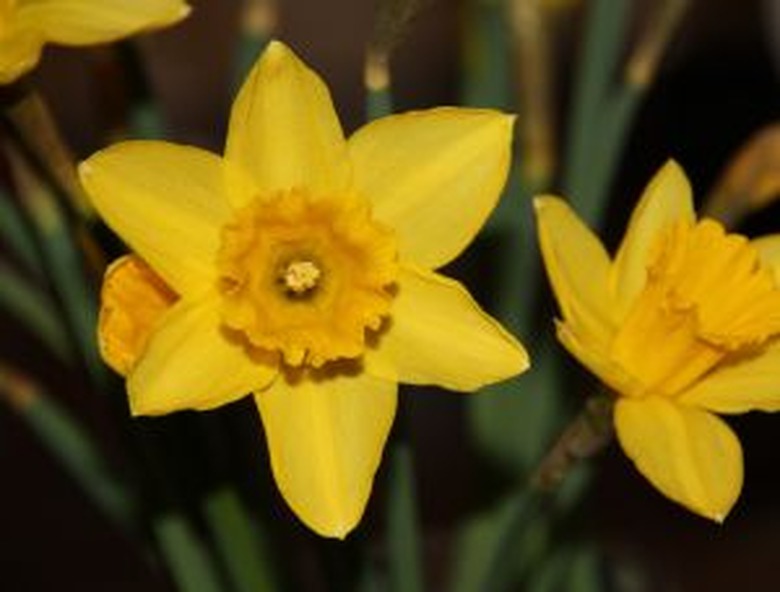
One of the first flowers of spring, dependable daffodils bloom year after year with little thought or effort from you. Eventually, transplanting may be necessary. The primary reasons to transplant daffodils include dividing the clumps, moving to a new area of the garden for landscaping purposes, or because the original area now is shaded by other plants. You can transplant daffodils soon after blooming, but this may ruin next year's blooms. Late summer and autumn is the best time to transplant with little shock to the plant.
Step 1
Mark your daffodils with garden markers in early to mid-summer when the foliage is still green. This helps you find the bulbs once the foliage has died.
- One of the first flowers of spring, dependable daffodils bloom year after year with little thought or effort from you.
- You can transplant daffodils soon after blooming, but this may ruin next year's blooms.
Step 2
Wait for the foliage to yellow and begin dying so that the leaves have the chance to store the nutrients for next year's blooming. Foliage usually dies in late summer to as late as mid-autumn.
Step 3
Loosen the soil 5 inches out and around the marked bulbs to avoid nicking or damaging them with your spade. Lift the clump of bulbs out, breaking the roots as little as possible.
Step 4
Examine the bulbs and discard any that are damaged or have soft spots, which is a sign of rot. Gently untangle roots that have grown together between bulbs.
Step 5
Choose a well-drained, sunny bed to transplant the bulbs to. Work compost into the soil to build the bed up 3 inches and improve drainage if necessary.
- Wait for the foliage to yellow and begin dying so that the leaves have the chance to store the nutrients for next year's blooming.
- Examine the bulbs and discard any that are damaged or have soft spots, which is a sign of rot.
Step 6
Plant bulbs pointed side up in circles or rows 5 inches apart. Plant so the top of the bulb is 6 inches beneath the soil surface.
Step 7
Water the newly planted bulbs, then spread a 3-inch layer of straw mulch over the bed. This preserves soil moisture and maintains ground temperature.