Hydroponics
Step 1
Compost tea is a nutrient-rich liquid made from soaking a solution of compost in water until the nutrients leech out of the hummus. Hydroponics is the process of growing plants with a soil-less solution of nutrients and a dry mix to support the roots of the plant. Proponents of hydroponics say plants grown this way grow larger and have a better yield than plants grown in the soil. Compost tea can be mixed into the nutrients used to grow hydroponic plants for a better yield.
Step 1
Place compost into a burlap bag and close the mouth of the bag.
Step 2
Fill a 5-gallon bucket with water.
Step 3
Place the burlap bag into the bucket of water.
- Compost tea is a nutrient-rich liquid made from soaking a solution of compost in water until the nutrients leech out of the hummus.
Step 4
Let the bag soak in the bucket for three hours so that the nutrients leech out of the compost in the bag.
Step 5
Remove bag and place compost back into the compost bin.
Step 6
Inject your compost tea solution into your hydroponic irrigation system along with your hydroponic nutrient solution once weekly at a ratio of 10 parts nutrient solution to 1 part tea.
Things Needed
- 5-gallon bucket
- Water
- Compost
- Hydroponic irrigation system
- Hypodermic needle
- Hydroponic nutrient solution

Step 1
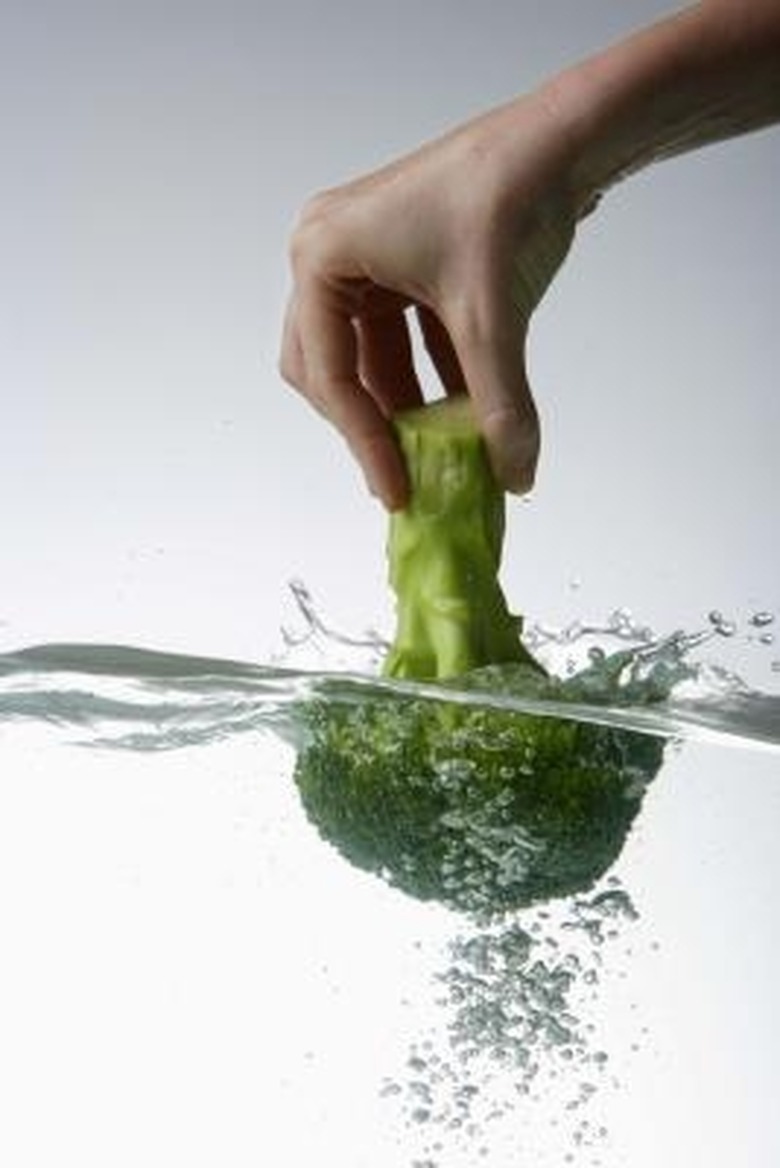
Choose a hydroponic growing system. A number of hydroponic systems are available; any of them will work with vegetables like broccoli, although choosing a system that can be placed in a cool area will work best for this cool-season crop.
Step 2
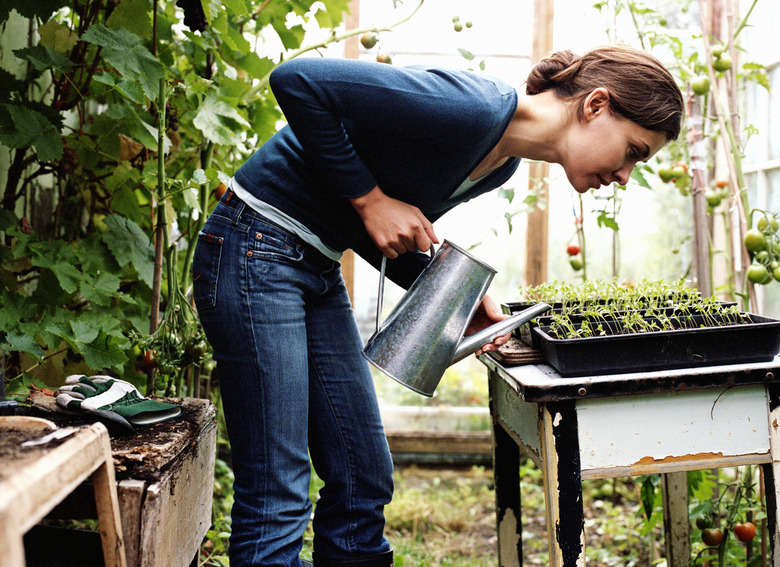
Plant two to four broccoli seeds in the growing medium of each grow cup. The growing medium may vary with the hydroponic system but is commonly rock wool, gravel or crushed clay. Operate the hydroponic system according to its operating instructions to provide the proper nutrients and water circulation to the broccoli seeds. Thin the plants to a single broccoli plant in each grow cup after the seeds sprout.
Step 3
- Let the bag soak in the bucket for three hours so that the nutrients leech out of the compost in the bag.
- Operate the hydroponic system according to its operating instructions to provide the proper nutrients and water circulation to the broccoli seeds.
Step 4
Place the hydroponic system in an area with daytime temperatures of about 65 degrees Fahrenheit. Keeping the seeds warmer until germination may help the plants start a little quicker but is not necessary. Allow the plants to grow in a well-lit but cool environment. If the hydroponic system is kept indoors, provide a grow light.
Step 5
Harvest the broccoli when it reaches maturity. This commonly takes about 4 months with a hydroponic system.
The practice of growing plants in water rather than soil may be referred to as hydroponics, aquiculture, aquaculture or aquapontics. The water must contain a nutrient solution in order for the plant to survive.
- Place the hydroponic system in an area with daytime temperatures of about 65 degrees Fahrenheit.
- Keeping the seeds warmer until germination may help the plants start a little quicker but is not necessary.

Step 1
Step 1
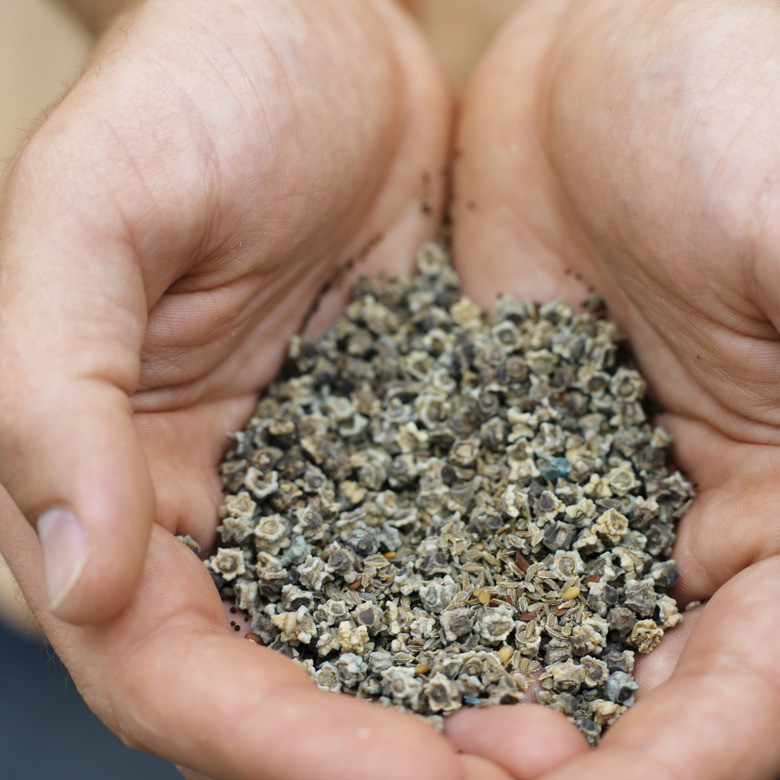
Soak seeds in plain water for 12 to 24 hours. Be sure all seeds are completely submerged.
Step 2
Prepare the hydroponic growing tray by placing the foam rubber in the bottom of the tray. Put half-strength nutrient solution in the tray, enough to keep the growing medium – the foam rubber – damp but not soggy.
Step 3
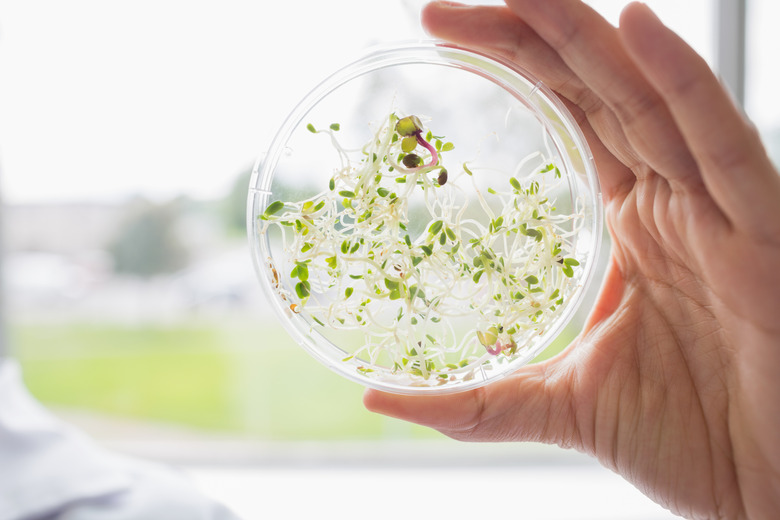
Spread the seeds evenly over the foam rubber. Use plenty of seeds so the sprouts will grow into a thick, grassy mat.
Step 4
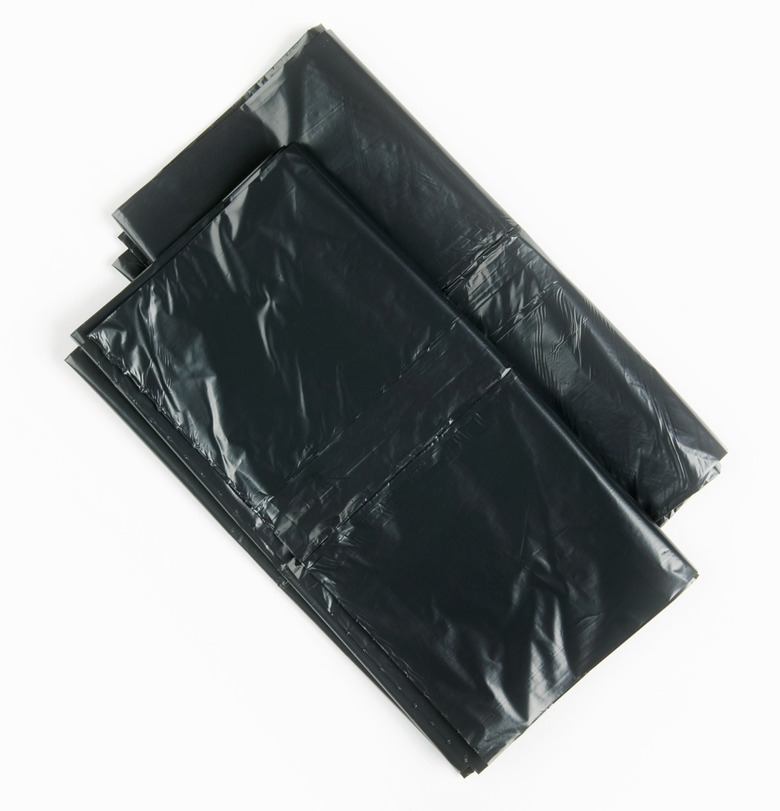
Place the tray in a semi-dark, warm location for about two days. Loosely cover the tray with a dark trash bag or a piece of black plastic if desired, instead of moving the tray.
Step 5
- Soak seeds in plain water for 12 to 24 hours.
- Loosely cover the tray with a dark trash bag or a piece of black plastic if desired, instead of moving the tray.
Step 6
Check the sprouts each day but leave them in the dark until they are about half an inch tall. Then give them full light, either by placing them in sunlight or by using a grow light.

Step 7
Water them as needed with a weak nutrient solution. Keep them damp but not soaked. Too much liquid may cause them to rot.
Step 8
Replace the nutrient solution with plain water after the sixth day. It is not necessary to drain what is in the trays but switch to plain water for adding to the plants at this point.
Step 9
- Check the sprouts each day but leave them in the dark until they are about half an inch tall.
- It is not necessary to drain what is in the trays but switch to plain water for adding to the plants at this point.
Step 10
Harvest the sprouts when they are about 8 inches tall. This usually takes from 7 to 10 days. To harvest, peel the sprouts off the foam rubber. They will come up in a mat, which can be fed directly to livestock. The animals will consume the entire mat of greens, including the seeds that remain.

Step 1
Drain all nutrient solution into a bucket and dispose of the solution.
Step 2
In the same bucket, mix a solution of one part bleach and nine parts water.
- Harvest the sprouts when they are about 8 inches tall.
- They will come up in a mat, which can be fed directly to livestock.
Step 3
Scrub all surfaces of the hydroponic system with a nylon brush. Scrub out any pipes with a bottle brush.
Step 4
Soak tubing in the bleach solution. Then scrub the inside of the tube with a pipe cleaner.
Step 5
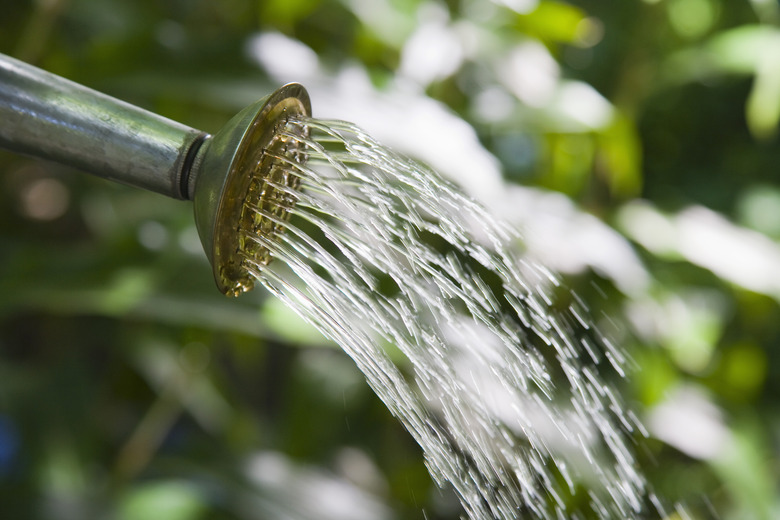
Rinse all surfaces with a garden hose to remove any traces of bleach. Allow the hydroponic system to dry before restocking.
Tip
When cleaning and disinfecting with bleach, wear safety gloves, protective clothing, breathing protection and safety goggles.
Warning
The nutrients used in a nutrient solution can promote algae bloom when discarded down a drain. Instead, recycle your used hydroponic solution in a separate hydroponic chamber that is used to grow low-nutrient requiring herbs or flowers. This system will reclaim all usable nutrients. Once the nutrients are expended from this solution, it is safe to be poured into a drain system.
Things Needed
- Bucket
- Bleach
- Water
- Rubber gloves
- Bottle brush
- Nylon scrub brush
- Pipe cleaners
- Garden hose
Step 1
Cut your soda bottle just below where the bottle stops curving at the top.
- Scrub all surfaces of the hydroponic system with a nylon brush.
- Then scrub the inside of the tube with a pipe cleaner.
Step 2
Poke a hole through the bottle cap, using a pencil or other sharp object.
Step 3
Feed your yarn up through the bottle cap. The yarn should be about 16 inches long.
Step 4
Fill the top of the soda bottle with perlite, winding your wick through the material as you pour. The wick should go through the material in a spiral.
Step 5
Fill the lower half of your soda bottle with a mixture of nutrient solution and water, according to the instructions on the nutrient solution bottle and what kind of plant you are adding to the perlite.
Step 6
Place the inverted soda bottle top onto the bottom half, allowing the wick to touch the nutrient solution. Place your plant into the perlite and slightly wet the potting media with a small bit of nutrient solution. As the plant needs nutrients, it will draw the solution up through the wick.
- Poke a hole through the bottle cap, using a pencil or other sharp object.
- Place the inverted soda bottle top onto the bottom half, allowing the wick to touch the nutrient solution.
Tip
Change your nutrient solution every two weeks to keep it fresh.
Step 1
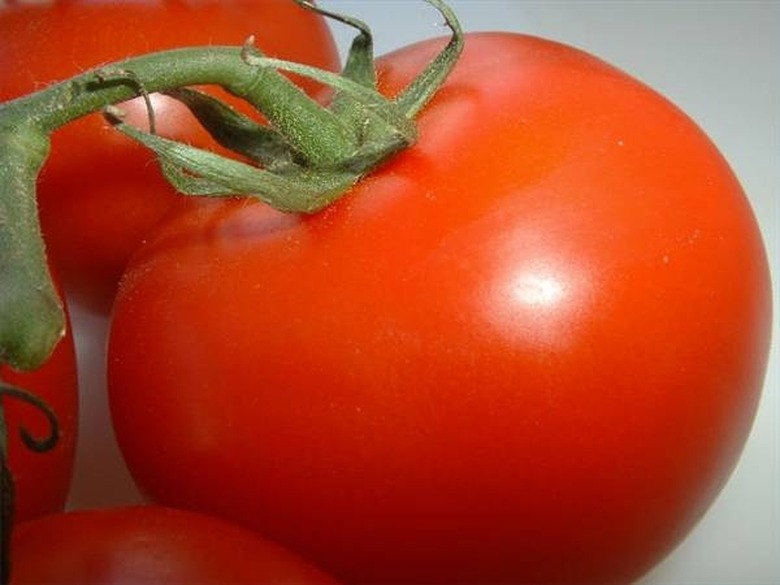
Choose plants that grow well in hydroponic gardens. You can plant tomatoes and lettuce, which commonly grow in commercial hydroponic gardens. Peppers, herbs and cucumbers are also good choices.
Step 2
Use a double-walled hydroculture pot, a ceramic container or an opaque glass container. You can display a single specimen in a colored-glass vase or a jar filled with marbles or decorative gravel.
Step 3
Give hydroponically grown plants support. Use vermiculite, gravel or rock wool to anchor the roots. Alternatively, you can anchor the stems in a thin sheet of plastic and let the roots dangle freely.
Step 4
- Choose plants that grow well in hydroponic gardens.
Step 5
Provide oxygen to plants grown in hydroponic gardens. A fish tank bubbler is sufficient for small gardens grown in tanks with less than a 50 gallon capacity.
Step 6
Fertilize plants with a product specifically designed for hydroponics. This fertilizer provides the 13 micronutrients and macronutrients essential for growth. Monitor the pH of the solution with a pH test kit and maintain at a level of 6.0.
Step 7
Allow the solution to drop to the lowest level of the roots occasionally to promote oxygenation. Change the hydroponic solution every 2 weeks to replenish nutrients.
Step 8
- Provide oxygen to plants grown in hydroponic gardens.
- Allow the solution to drop to the lowest level of the roots occasionally to promote oxygenation.
Step 9
Turn your aquarium into a hydroponic garden. The fish provide nutrients and the bubbler provides oxygen to the plants. Float a small piece of cork or Styrofoam on top of the aquarium, and let the roots filter through a hole or slit you cut in the floating island.
Step 1
Drain the liquid nutrient from the reservoir into a bucket with a siphoning hose in one bucket.
Step 2
In a second bucket, mix a solution of one part bleach and nine parts water.
Step 3
Dip the sponge in bleach water and scrub the surfaces of the reservoir with the cleaning solution.
Step 4
Scrub the corners, difficult-to-reach areas and stubborn deposits with a nylon bristled brush.
- Turn your aquarium into a hydroponic garden.
- Drain the liquid nutrient from the reservoir into a bucket with a siphoning hose in one bucket.
Step 5
Rinse the reservoir with a garden hose thoroughly to remove all traces of bleach from the surfaces.
Tip
Recycle the nutrient solution into a separate hydroponic solution for growing plants with low nutrient requirements. When the plants from this second hydroponic system have used all the nutrients in the solution, it will be environmentally safe to dispose of. Always wear protective clothing, gloves, goggles and a breathing mask when working with bleach.
Things Needed
- Siphoning hose with squeeze bulb pump
- 2 Buckets
- Bleach
- Water
- Nylon sink scrub brush
- Sponge
- Garden hose
Water Use
Hydroponics actually uses less water than soil gardening—up to 90 percent less–because hydroponic designs typically recycle the water.
Fertilizing
Hydroponics gardening relies on fertilizer added to the water, because no soil is available to provide nutrients; therefore, hydroponics requires chemicals, while you can enrich soil with organic matter.
Care
Hydroponic gardens rely on gardeners to control the amount of the nutrients, ensure the pH is correct and ensure the roots don't dry out. In short, hydroponic gardens need more attention than soil gardens.
Supplying Needs
Hydroponics can produce anything a soil garden can, but growers have to supply things that soil gardeners take for granted, like light and a growing medium to replace soil.
Environment
Soil gardeners must make do with whatever outdoor environment they have. Hydroponics frees gardeners to grow crops whether they live in the desert or tundra.
- Rinse the reservoir with a garden hose thoroughly to remove all traces of bleach from the surfaces.
- Hydroponics gardening relies on fertilizer added to the water, because no soil is available to provide nutrients; therefore, hydroponics requires chemicals, while you can enrich soil with organic matter.
Step 1
Fit a removable plug into the bottom of the pot.
Step 2
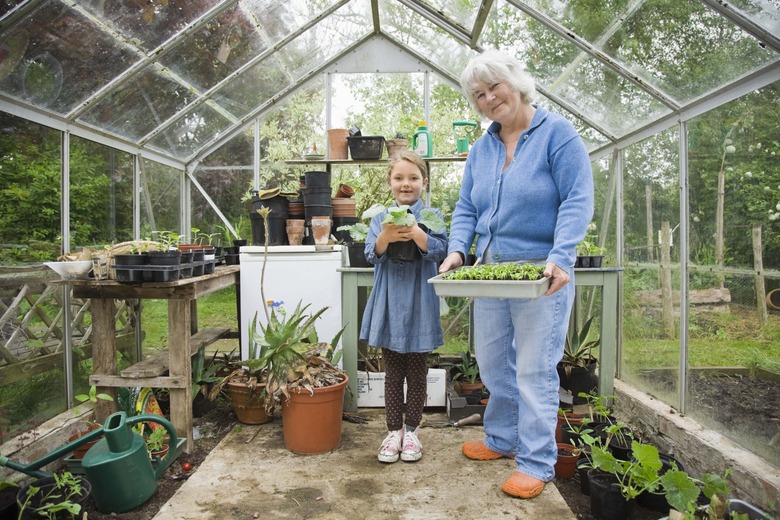
Transplant a seedling (when the secondary leaves appear) into a pot filled with lightweight gravel. The level of the gravel should be about 1 inch from the top of the pot.
Step 3
Mix the hydroponic plant food with water, according to the directions on the packaging.
Step 4
Fill the pot to the top of the gravel with the liquid mixed solution.
Step 5
Remove the plug from the bottom of the pot and drain the solution into a container.
Step 6
Repeat Steps 4 and 5, twice a day for a week. Reuse the same solution. After a week, make a new batch of solution and repeat Steps 4 through 6.
Step 7
- Fit a removable plug into the bottom of the pot.
- Remove the plug from the bottom of the pot and drain the solution into a container.
Step 1
Start with good-quality water that is free from contamination of any kind. Allow tap water to sit before use to remove chlorine. The initial salt concentration should be low and the ideal pH is between 5 to 7. In areas with hard water, use rainwater to make your nutrient solution.
Step 2
Make the micronutrient concentrate. This concentrate will be diluted in the final nutrient solution. Add the following micro nutrients to 450 ml of water: 7.50 g of boric acid, 6.75 g of manganous chloride, 0.37 g of cupric chloride, 0.15 g molybdenum trioxide, and 1.18 g of zinc sulfate. Stir or mix thoroughly after each addition. Store the solution in a labeled dark bottle.
- Start with good-quality water that is free from contamination of any kind.
- In areas with hard water, use rainwater to make your nutrient solution.
Step 3
Fill the nutrient tank with water. Measure the water volume in liters. The given recipe is for 10 l of nutrient solution. Determine the number of grams to add to your nutrient tank by dividing the number of liters by 10, then multiplying by the number of grams given for 10 l of solution.
Step 4
Add 5 g of magnesium sulfate (Epsom salts), 2.7 g of monopotassium phosphate, 2 g of potassium nitrate, 1 g of potassium sulfate, 5 g of calcium nitrate and 0.25 g of chelated iron for every 10 l of water. Mix well.
Step 5
Mix in 2.5 ml of the micronutrient concentrate for every 10 l of nutrient solution. Stir to mix well.
- Fill the nutrient tank with water.
- Mix in 2.5 ml of the micronutrient concentrate for every 10 l of nutrient solution.
Tip
Change the nutrient solution every two weeks. Once the fruit have set, increase the calcium nitrate levels to 6.8 g per 10 l of nutrient solution. Use 6.8 g in the original recipe for every 10 l of nutrient solution. Some newer tomato varieties need even higher nitrogen and potassium than recommended here, so check with your seed company for recommended formulas.
Clean Your Hydroponic Equipment
Step 1
If you have an active hydroponic system, stop the pump. Drain the nutrient reservoir into the bucket and discard the used nutrient solution. You can also recycle this solution by using it to water your soil garden or your lawn.
Step 2
Use a clean rag or paper towels to wipe down the grow tray, nutrient reservoir, sprayers (if you use them) and drain fittings. Clean off as much excess residue as you can.
Step 3
Refill the nutrient reservoir with clean water. Allow this to sit uncovered for at least an hour to allow any chlorine present in the water to dissipate.
Step 4
- If you have an active hydroponic system, stop the pump.
- Drain the nutrient reservoir into the bucket and discard the used nutrient solution.
Step 5
Add to the nutrient reservoir 3ml of 35 percent H2o2 (hydrogen peroxide) per gallon of water. Mix well.
Step 6
Turn on the pump (if you use one) and let it run continuously for 24 hours. This will thoroughly clean out the tubing, sprayers, drain fittings and every other part of the system that comes in contact with the water.
Step 7
After 24 hours, turn off the pump and drain the H2o2 solution from the system. Discard this solution.
Step 8
Refill the nutrient reservoir with plain water and allow this to sit uncovered for an hour. Add concentrated nutrient solution, following the manufacturer's instructions, and re-start the pump.
Step 9
- Add to the nutrient reservoir 3ml of 35 percent H2o2 (hydrogen peroxide) per gallon of water.
- After 24 hours, turn off the pump and drain the H2o2 solution from the system.
Step 1
Place the rubber reservoir buckets under a strong, sturdy table.
Step 2
Install the fill and drain kit, then place it in the ebb and flow tray. The ebb and flow tray is the larger plastic tray that the individual plastic pots of each plant will grow in. Position it that so the overflow drain is above the reservoir container.
Step 3
Put the water pump in the reservoir tank. Use flexible tubing to allow the water to travel to the ebb and flow tray. Some trays have a specific location where the tube connects, but otherwise just place it so it runs down in a corner to the water.
Step 4
- Place the rubber reservoir buckets under a strong, sturdy table.
- Use flexible tubing to allow the water to travel to the ebb and flow tray.
Step 5
Set the timer on your water pump so it floods the ebb and flow tray at least twice a day and no more than five times a day.
Step 6
Cut plastic mesh and put it in the bottom of each plastic pot. Fill the pots with the perlite and add the plants. Set them into place inside the ebb and flow tray.
Step 7
Fill the reservoir with enough water to fill the ebb and flow tray, then add the nutrients to it. Use enough nutrients and water to saturate the perlite three times over. This amount should be included with the instructions. Flooding prevents salt buildup.
Step 8
- Set the timer on your water pump so it floods the ebb and flow tray at least twice a day and no more than five times a day.
Step 9
Place growth lights above the hydroponics system and turn them on and off in 12-hour shifts. You can use timers to make this easier.
History
William Frederick Gericke of the University of California at Berkeley was the first to publicly promote the idea that a solution culture could be used for agricultural crop production. He introduced the term "hydroponics" in 1937.
Features
In hydroponic plant growing, nutrients are absorbed directly by the plant roots. This causes the plant to grow and begin to produce up to 50 percent faster than non-hydroponic plant growing.
Effects
Research conducted by Plant Research Technologies Incorporated in San Jose, California found a dramatic increase in vitamins and minerals in hydroponic produce, in some cases up to 50 percent higher.
- Place growth lights above the hydroponics system and turn them on and off in 12-hour shifts.
- Research conducted by Plant Research Technologies Incorporated in San Jose, California found a dramatic increase in vitamins and minerals in hydroponic produce, in some cases up to 50 percent higher.
Significance
Hydroponically grown produce is not grown in fields and so is not exposed to disease-causing bacteria from livestock. Pesticides are not needed because the environment can be kept pest-free. Thus, the nutritional value of the produce is not decreased by pests and disease.
Types
In hydroponic plant growing, the same nutrients that a plant would get from the soil are used to create a balanced solution. The difference is that there is no absorption hindrance from the soil. Calcium, magnesium, potassium, nitrogen and several other nutrients make up the solution.
System Set-Up
Step 1
Before growing plants hydroponically, you must set up the hydroponic system correctly. This involves mixing up the nutrient solution, checking and adjusting its pH level and pouring it into the reservoir, if there is one in your system. You must also set the timer on your watering pump, if your system uses one.
Step 2
- Hydroponically grown produce is not grown in fields and so is not exposed to disease-causing bacteria from livestock.
- This involves mixing up the nutrient solution, checking and adjusting its pH level and pouring it into the reservoir, if there is one in your system.
Lighting
Step 1
If the hydroponic system is indoors, you need to set up high intensity artificial lights to replace to replace the full sunlight the plants cannot get inside.
Growing Media
Step 1
Put your plants into the growing tray and fill it with an appropriate growing medium to hold up the plants' roots. Possibilities include perlite, vermiculite, rock wool, gravel, coarse sand, sawdust and wood shavings.
Maintenance
Step 1
If your system is not a water culture system and does not use a pump, then you will need to pour the nutrient solution over the plants manually, one to three times per day. Monitor the pump, the temperature and the pH of the solution to make sure everything is as it should be. (See References 2)