When And How To Transplant Daylilies
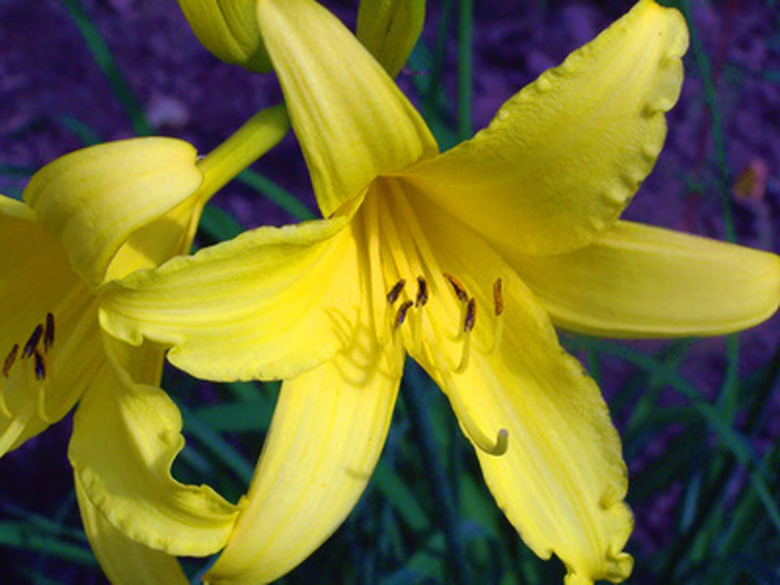
When it comes to perennial flowers, it's difficult to find anything negative to say about the daylily. With limited effort, daylilies bloom from summer to fall, even in poor soil, drought and low levels of sunlight. Daylilies come in a rainbow of colors and, depending on the variety, as diminutive as 8 inches or as tall as 5 feet, with miniature 2-inch flowers or giant 8-inch blooms. Transplant daylilies every four to five years to keep them looking their glorious best.
Step 1
Transplant daylilies immediately after they finish flowering. Although daylilies can be transplanted any time of year that the ground can be worked, transplanting daylilies after the plants finish flowering will give the plants time to establish roots before winter, and the daylilies will be ready to bloom the following spring.
Step 2
Prepare the soil for the transplanted daylilies ahead of time. Using a shovel or a tiller, cultivate the soil to a depth of 10 to 12 inches and work 2 to 3 inches of compost into the top of the soil.
- When it comes to perennial flowers, it's difficult to find anything negative to say about the daylily.
- Although daylilies can be transplanted any time of year that the ground can be worked, transplanting daylilies after the plants finish flowering will give the plants time to establish roots before winter, and the daylilies will be ready to bloom the following spring.
Step 3
Insert a garden fork 8 to 10 inches from the clump of daylilies. Rock the garden fork back and forth carefully to loosen the roots. Continue working in a circle around the circumference of the plant and carefully lift the clump of daylilies from the ground. If the clump of daylilies is too large, lift the plant from the ground in smaller clumps.
Step 4
Shake the divided daylilies to loosen caked-on dirt. If the dirt is heavy, wash the roots gently with a garden hose. Removing the soil will make it easier for you to see the roots and the natural divisions.
- Insert a garden fork 8 to 10 inches from the clump of daylilies.
- Continue working in a circle around the circumference of the plant and carefully lift the clump of daylilies from the ground.
Step 5
Pull the daylily apart into smaller sections, each with at least two or three leaves and attached roots. Use garden shears to cut the foliage back to 4 to 6 inches. Discard the center sections of the clump if it has become woody and unproductive, as well as any sections with soft or brown roots.
Step 6
Plant the divisions in the prepared spot. Dig a hole large enough to accommodate the plant's root system, and make a small mound of soil in the bottom of the hole. Spread the roots evenly around the mound, and place the crown of the plant no more than 1 inch below the top of the soil. The crown is where the roots of the plant join the stem.
- Pull the daylily apart into smaller sections, each with at least two or three leaves and attached roots.
- Spread the roots evenly around the mound, and place the crown of the plant no more than 1 inch below the top of the soil.
Step 7
Water the daylilies deeply immediately after planting. Spread 1 inch of organic mulch, such as shredded bark, around the daylilies to conserve moisture and control weeds.
Things Needed
- Shovel or tiller
- Compost
- Garden fork
- Garden hose
- Garden shears
- Organic mulch