How To Add A Hot Tub To An Existing Pool
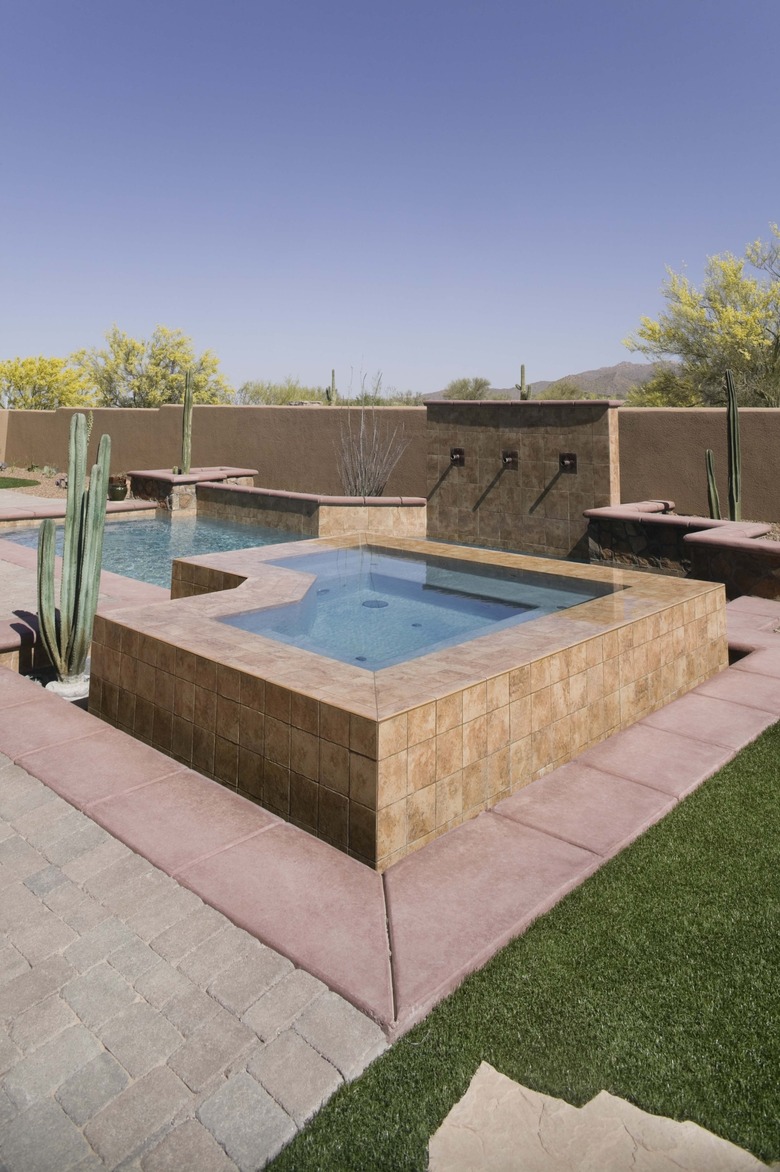
Installing a hot tub provides a space for relaxation before or after a swim. Placement of the hot tub is easiest by leaving all walls of the pool intact and setting the hot tub back a few feet. The hot tub can be added on a different level at poolside. Or, it can be installed adjacent to the pool space so that you can simply move into the hot tub quickly. In your hot tub design, however, be sure to make choices that prevent risks for cracks to the walls of a swimming pool.
Step 1
Get a local building permit to determine required setbacks from property lines and the street. Call the Digger's Hotline at 800-242-8511 to find out placement of cable lines, underground electrical lines and gas lines. Locate pool drains and wiring to define the exact hot tub footprint. Follow local building codes precisely because pool wiring and new wiring added for the hot tub will require an exact distance between them for safety reasons.
Step 2
Look at all aspects of rockiness of the soil and stability of the yard surface. Do a percolation test to ensure rainwater will not pool around the hot tub. Talk with an expert if you plan to submerge the hot tub below ground level in any fashion. (Treat the submerged hot tub as a miniature swimming pool, ensuring its exterior walls are watertight and protecting the inner workings of the hot tub over the years.)
Step 3
- Get a local building permit to determine required setbacks from property lines and the street.
- Follow local building codes precisely because pool wiring and new wiring added for the hot tub will require an exact distance between them for safety reasons.
Step 4
Choose the best hot tub plan and materials. Buy a unit with no prebuilt sides of faux wood, for example, when submerging a hot tub into a concrete shell that you will cover with faux stones.
Step 5
Rent a trencher to remove soil to construct the base for the hot tub. Dig some of the dirt with a hand shovel if you are close to landscaping walls or pool walls to avoid causing cracks in them.
Step 6
Construct a concrete base for the hot tub unit that is at least 4 inches thick. Build the base with reinforcement, such as metal gridwork or rebar. Cut 1/2-inch thick plywood to build the form for the concrete pour.
Step 7
- Choose the best hot tub plan and materials.
- Cut 1/2-inch thick plywood to build the form for the concrete pour.
Step 8
Define exact placement of plumbing and wiring in relation to the concrete pad. Dig a trench line for water pipes and drains before bringing the hot tub unit on site.
Step 9
Route plumbing and drains for the hot tub, along with electrical needs under the guidance of experts. Check out all local building requirements, such as clearly audible alarms for gates required around pools and hot tubs in some cities, so you can plan these needs as you run new water pipes, drain lines and underground wiring.
Step 10
Get all utilities in place before hauling in the hot tub unit on a piano dolly. Position the hot tub over the concrete base, using the help of a couple of people, before hooking up all plumbing and electrical needs.
Step 11
Construct any additional walls needed around the hot tub, such as stacked stones. Build a perimeter walkway of brick pavers or concrete around the hot tub to keep debris away from the hot tub walls.
Step 12
- Define exact placement of plumbing and wiring in relation to the concrete pad.
- Check out all local building requirements, such as clearly audible alarms for gates required around pools and hot tubs in some cities, so you can plan these needs as you run new water pipes, drain lines and underground wiring.
Step 13
Seal the unit or its walls in any appropriate fashion to keep rainwater away from the inner workings of the hot tub unit. Add wide, flat prepoured concrete sections to cap a block wall surround the hot tub, for example, using mortar to seal the capped area. Fill with water and add chemical treatments to get the tub ready for occupants.