Homemade Wheelie Bin Worm Farms
Making worm farms out of recycled trash cans, or wheelie bins, municipalities issue for garbage or recycling services, is a great way to create compost for your garden soil. It also helps reduce landfill waste when you use waste scraps for compost. The bins are vermin-proof, durable and portable because they are on wheels.
Compost earthworms eat their weight in organic matter every day and reproduce quickly. They work non-stop, turn your compost over for you, and provide your garden with valuable worm castings.
Step 1
Acquire a durable, watertight wheelie bin. Make sure there are no holes or cracks in the base of the receptacle that would let liquids out.
Step 2
Drill a hole the size of a quarter in the front of the wheelie bin. The front is the side where the lid opens. Make the hole about 2 inches from the bottom of the bin and centered on the front side.
Step 3
Cut the top off a 2-liter soft drink bottle where the neck meets the body of the bottle. Keep the cap screwed on. Fit the bottle neck through the hole in the wheelie bin. You may have to adjust the size of the hole a little. The side with the cap will be on the outside of the wheelie bin.
Step 4
- Acquire a durable, watertight wheelie bin.
- The side with the cap will be on the outside of the wheelie bin.
Step 5
Cut off the excess bottle inside the bin and duct tape it around the edges so the area around the bottle neck and bin hole is watertight. Test with a water hose or other source of water to make sure. This will be the tap for the worm "juice" to drain.
Step 6
Drill another hole the size of the mouth of a gallon-sized plastic mayonnaise, pickle, or other jar. The base of the hole should be about 12 inches up from the bottom of the bin, and will also be centered on the front side of the bin.
Step 7
Cut the top and neck off a gallon-sized plastic mayonnaise or other jar. This may be a little trickier to do than the soft drink bottle because the neck is shorter. Fit the neck of the mayonnaise jar into the larger hole, cut it as flush as possible against the wheelie bin wall, and duct tape the edges so that this opening is watertight. This will be the hole to get out the worm castings.
Step 8
- Cut off the excess bottle inside the bin and duct tape it around the edges so the area around the bottle neck and bin hole is watertight.
- Fit the neck of the mayonnaise jar into the larger hole, cut it as flush as possible against the wheelie bin wall, and duct tape the edges so that this opening is watertight.
Step 9
Drill two quarter-size holes in the back of the wheelie bin opposite the large casting hole at either corner. These will be overflow holes in case of a watering accident so the worms will not drown.
Step 10
Line the perimeter of the inside of the wheelie bin with bricks on the two side walls where there are no openings. Use lots of duct tape to secure the bricks to the walls of the wheelie bin. Stack the bricks up above the level of the openings.
Step 11
Cover the entire square footage of the wheelie bin at the level of the top of the bricks with fine, non-degradable mesh window screen. The bricks make a base for a mesh screen "floor" so the worms do not slip down and drown. Secure the mesh all the way around the trash bin with duct tape.
Step 12
- Drill two quarter-size holes in the back of the wheelie bin opposite the large casting hole at either corner.
Step 13
Drill two 1 inch holes on each side of the wheelie bin near the top where the lid fits on. These are air vents. Rodents will not be able to fit through these holes. Cover these holes with mesh screen and secure with duct tape so flies cannot get in.
Step 14
Add shredded newspaper, plant garbage, leaves or grass clippings on top of the mesh screen about 6 inches thick to start. Moisten this material with water but do not make it too muddy.
Step 15
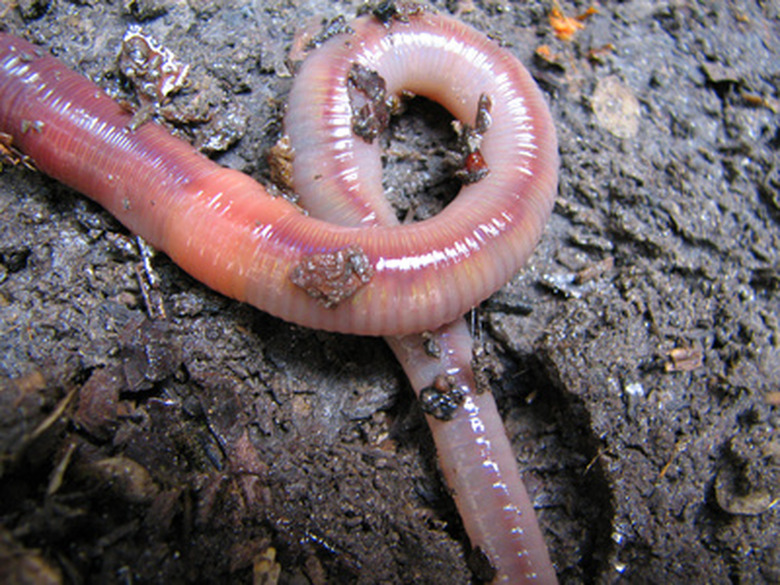
Choose tiger or red earthworms. Start with about 2,000 worms. Spread the worms out carefully on the bedding. They will double in population in about two to three months and will keep multiplying.
Step 16
- Drill two 1 inch holes on each side of the wheelie bin near the top where the lid fits on.
Step 17
Give the worms more food when they have eaten most of their last meal. The worms will need more food as they reproduce. They can eat their own weight in organic material in just a day or two. Keep the food moist but not too wet.
Step 18
Use the drain spout to pour off worm "juice" when it is produced. Make "worm tea" by diluting worm juice in water to pour on garden plants. Use the larger opening to scoop out worm castings when the bin has filled to this level. Sprinkle the worm castings onto garden beds and mix into the soil.
Step 19
- Give the worms more food when they have eaten most of their last meal.
- Use the larger opening to scoop out worm castings when the bin has filled to this level.